Note: This post contains affiliate links. You may read my disclosure here.

These homemade rainbow crayons are so easy to make, fun to color with, and great way to reuse crayon pieces that would have otherwise been thrown away. My daughters and I spent a Sunday morning making and coloring with these crayons and we all had so much fun! We hope you try this colorful activity and have as much fun as we did making and coloring with them!
My girls love that you can color with more than one color at once with these crayons. I love that we are re-using something (the crayon pieces) that would have otherwise been thrown away. I have a passion for teaching my kids to be mindful about waste and to protect and love our planet.

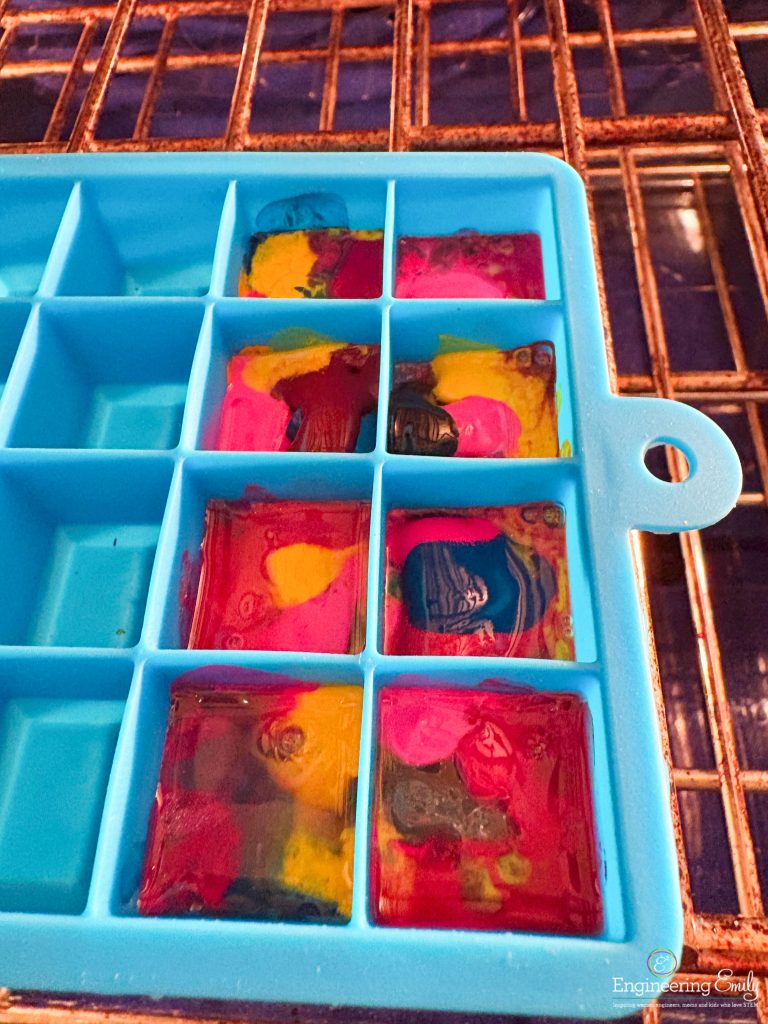
We used a silicon ice cube mold for this activity. It’s worth noting the crayons may leave some permanent color or wax in your silicon mold. I now have a silicon mold dedicated to the sole purpose of making these crayons – I will not use the same mold for food after using it to make these crayons. Alternatively, you can use a mini cupcake pan with cupcake liners so you don’t ruin your pan. We did this method when we made the crayons 6 years ago* and it worked just as well.
*If you’re a long-time blog reader and this activity seems familiar – it’s because I shared this within a St. Patrick’s Day post with 2 other activities 6 years ago. You can find that post linked here. We did the activity again for this solo activity post and refreshed the instructions with a few updates and new photos. 🙂
So don’t throw away broken crayons! Start saving them and once you have a collection of at least 15-20 crayon pieces in lots of colors you’re ready to do this activity.
Below is a video format of the activity with instructions on my @engineering_emily instagram account.
Overview:
This is a great activity for kids who love to draw and color. They are reusing their old broken crayons and creating something new: a rainbow crayon. This activity is recommended for children ages 3+.

Safety:
You will use the oven in this experiment. Adults should use oven mitts when putting the crayons into the oven and when removing them. Keep children away from the hot oven, and do not allow them to touch the crayons or the silicon mold/cupcake pan until it is completely cooled.
Materials:
- Broken crayons in assorted rainbow colors
- Silicon mold (used to make ice cubes or candy) or mini cupcake pan with liners
- Optional – Homemade Rainbow Crayons Printable

Procedure:
- Preheat the oven to 150oF (or the lowest temperature on your oven – ours was 170oF).

- Set out the silicone mold (they come in many designs and shapes on Amazon and are non-stick so it’s easy to remove the crayons once they have melted and dried) or place liners in the mini muffin pan.
- Gather old broken crayons in rainbow colors.

- Unwrap the crayons. Be sure to remove all paper wrapping (the paper can be recycled).


- If the crayon pieces are still big, break the them into smaller pieces (they should be broken down as small as possible – an adult will likely have to help with this step).


- Place the crayon pieces in the silicon mold (be sure to put at least one piece of each color in each cup). You want each mold filled to the top, so fill one at a time, and it’s ok if you don’t use every opening in your mold – depending on how may crayon pieces you have.

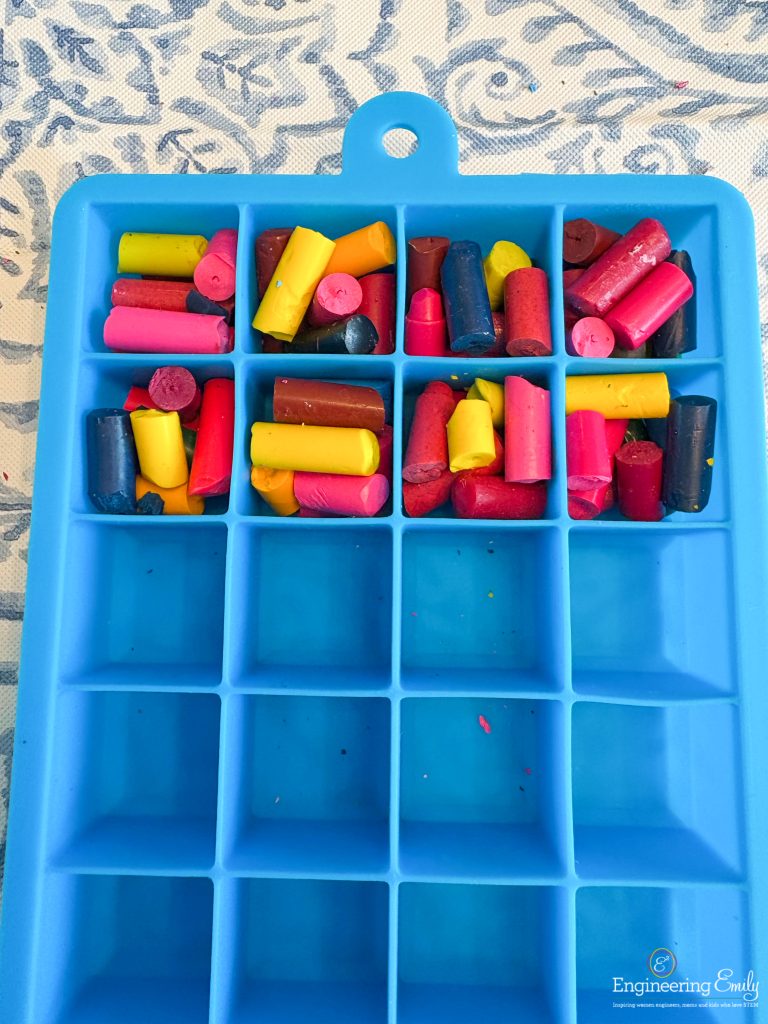
- Place the silicon mold in the preheated oven and bake for around 30 minutes, or until the crayons have completely melted.
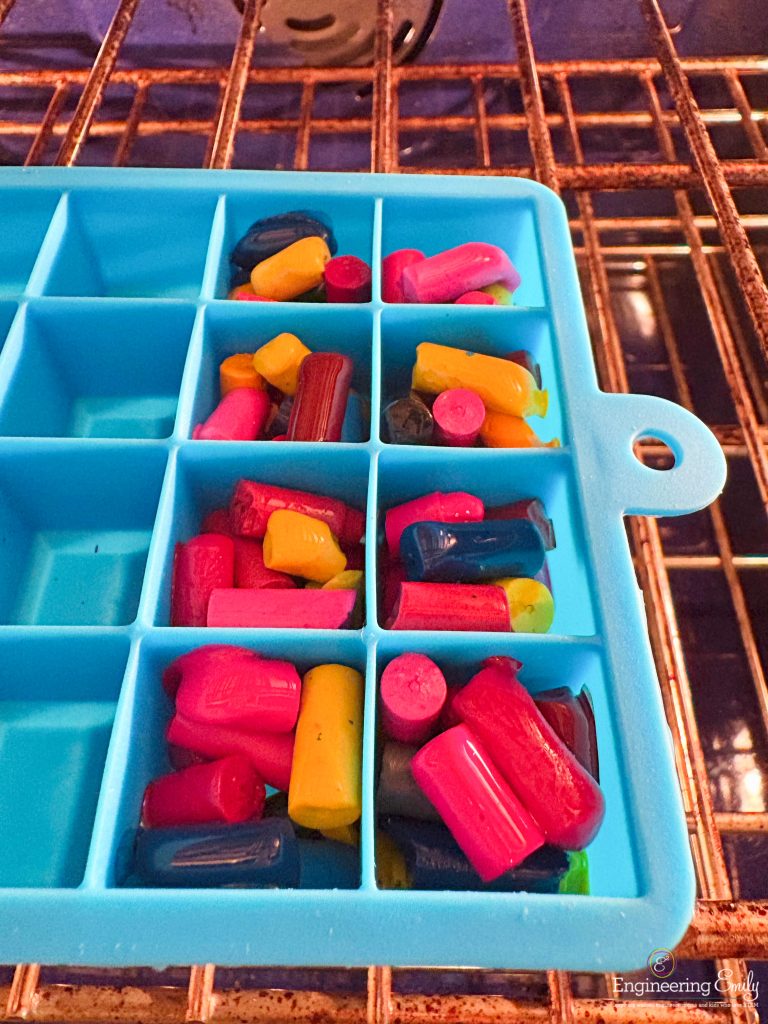
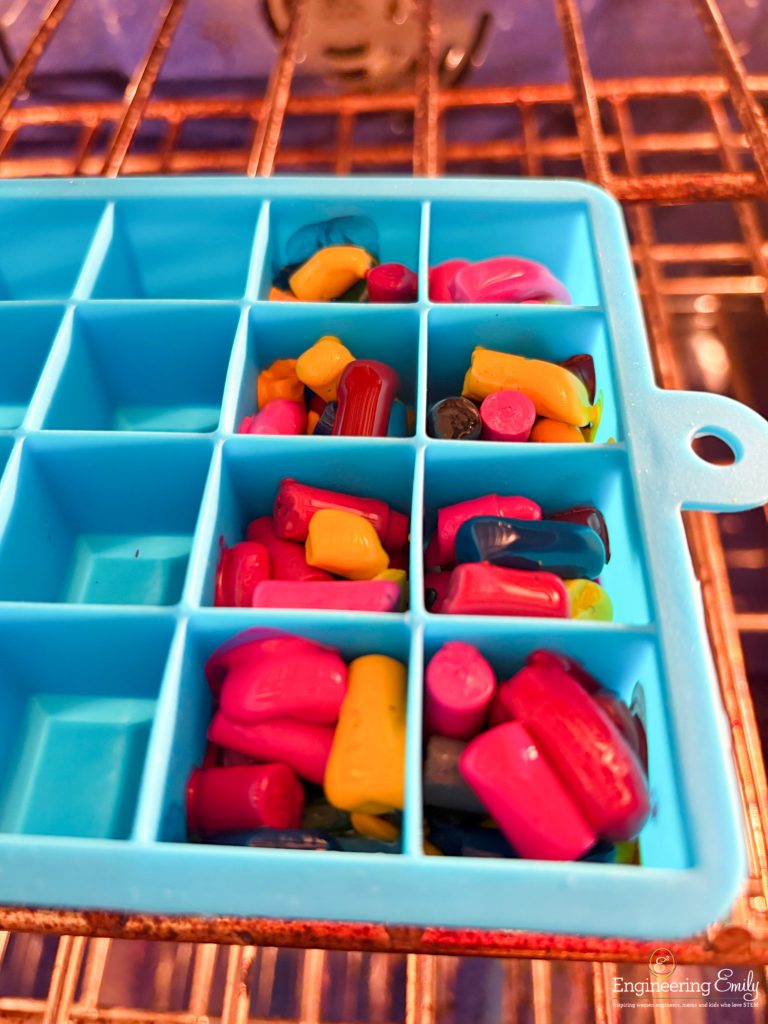
- Use oven mitts to remove the silicon mold from the oven and let the crayons cool completely in a safe location out of the reach of your children (the melted crayons are very hot and will burn hands if touched before cooled and dried).
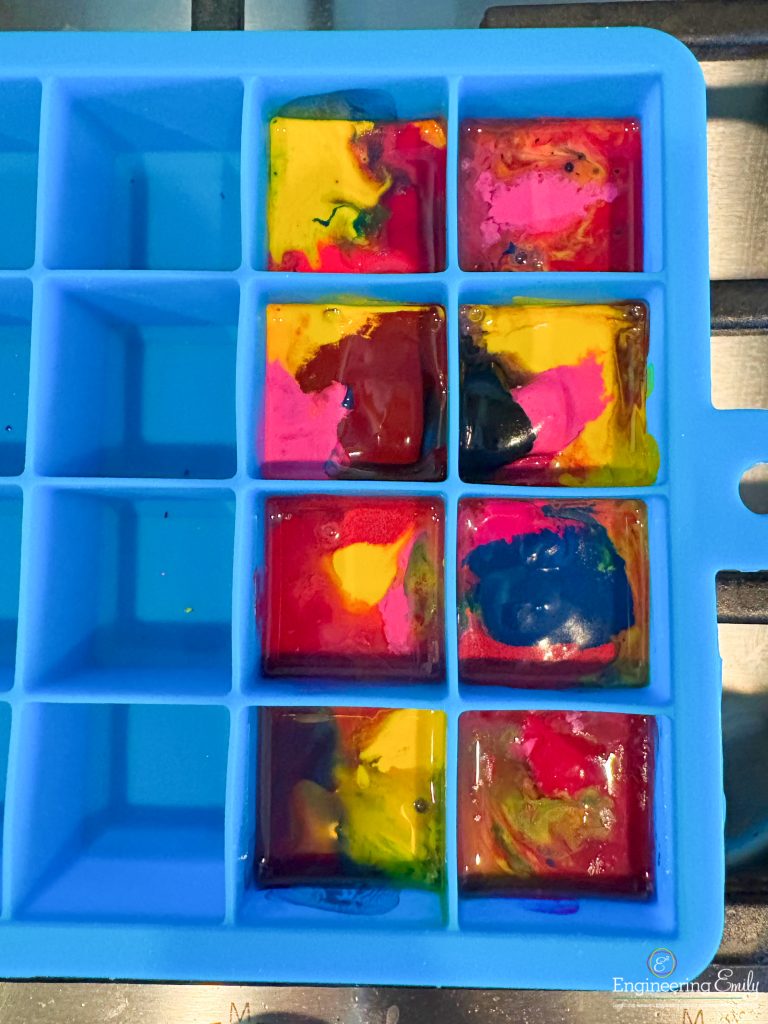
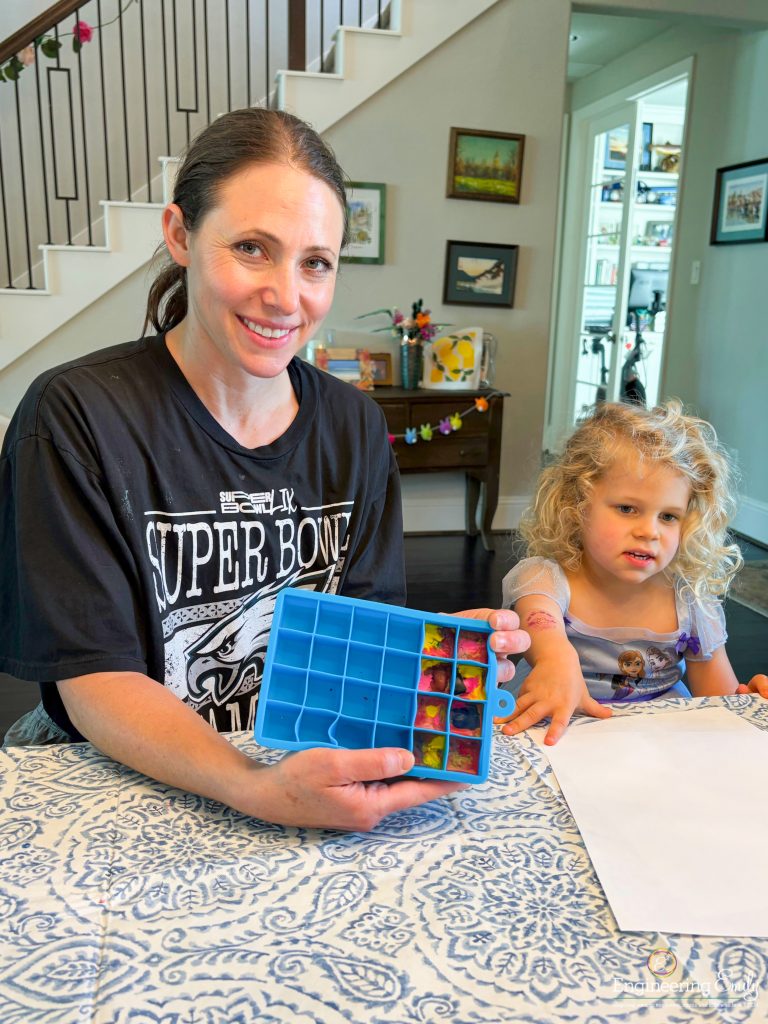
- Once cool, remove the rainbow crayons from the silicone mold.
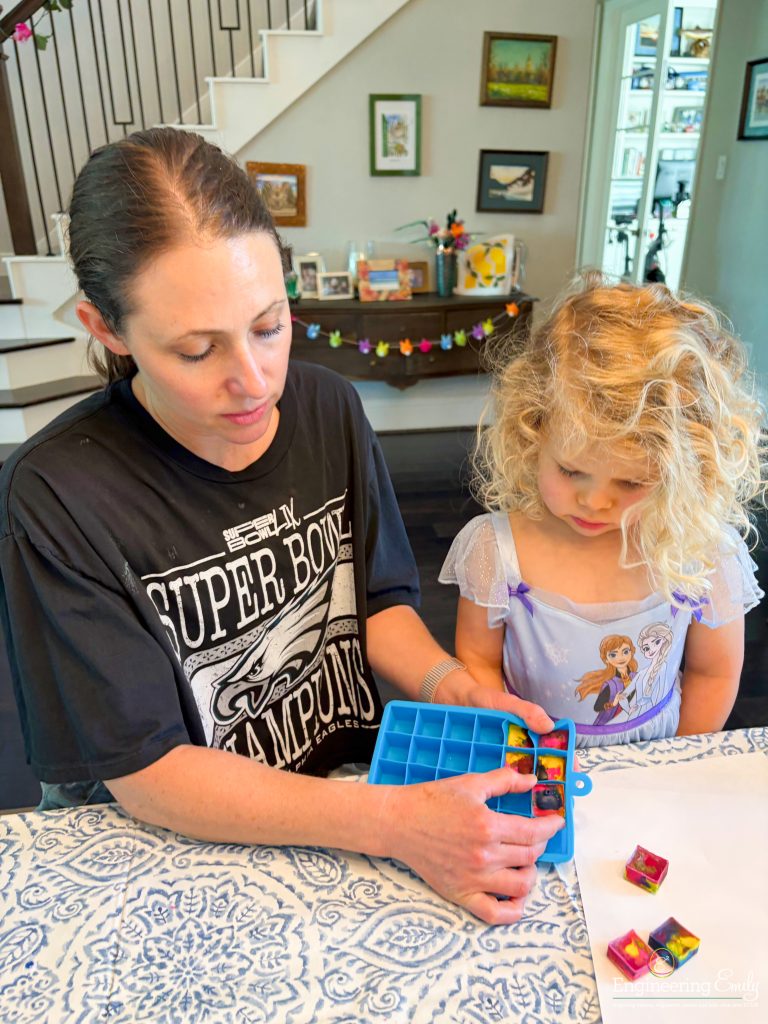
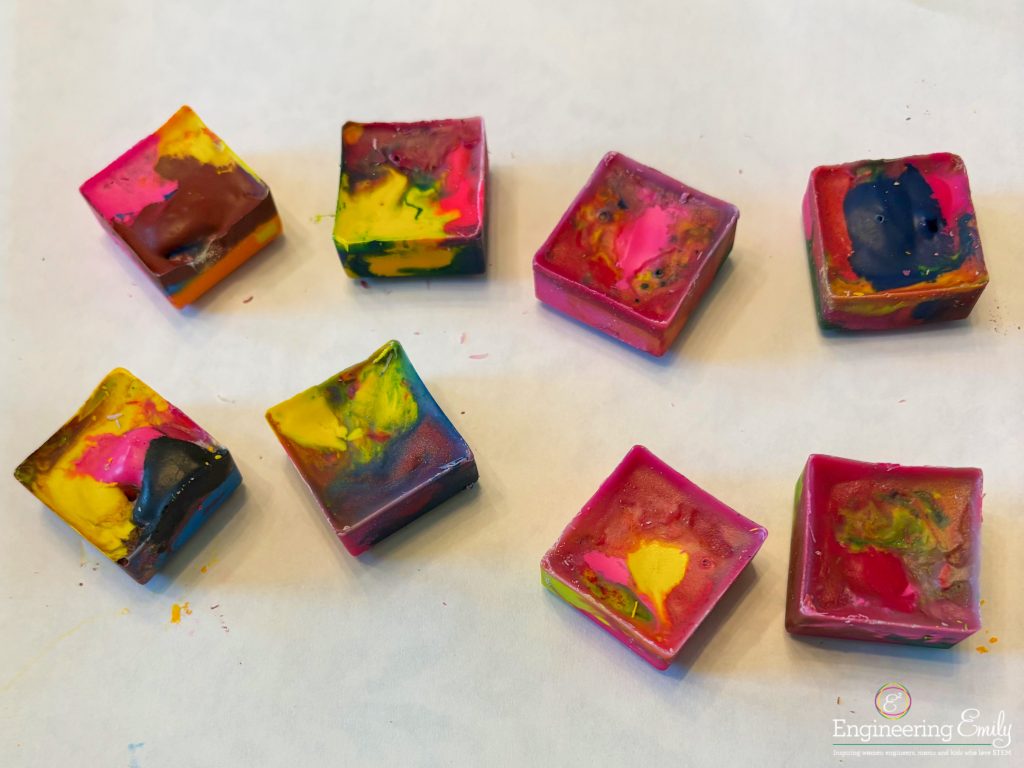
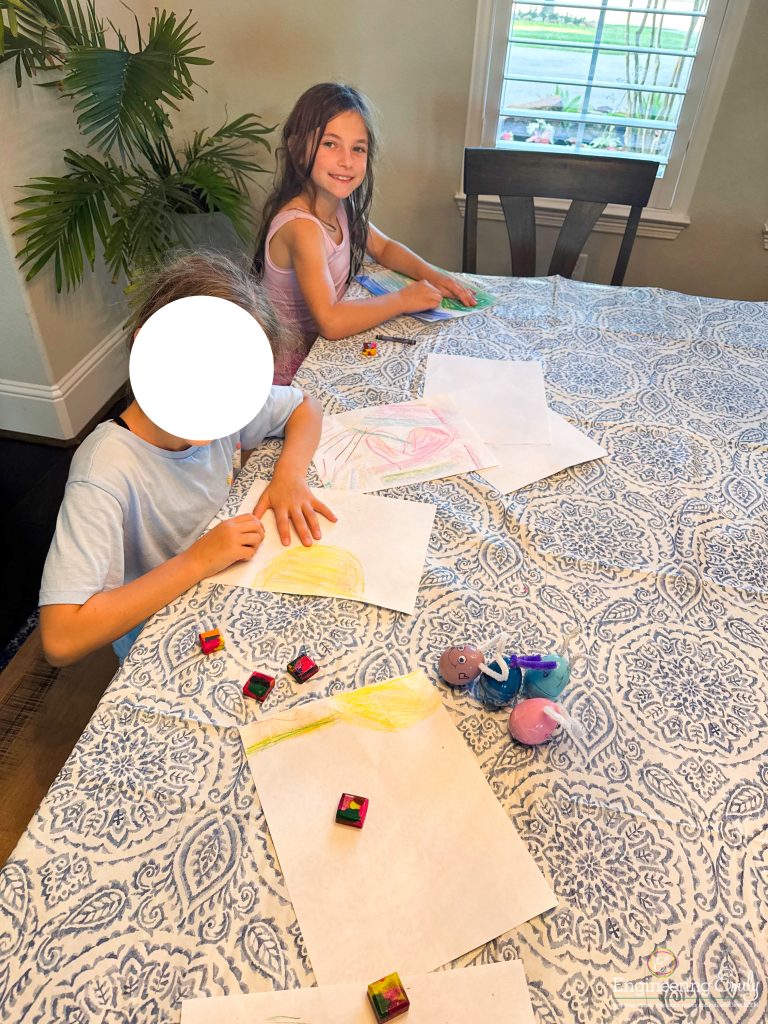
- Use the rainbow crayons to make colorful drawings.

STEAM Concepts Learned:
Your child learned that broken crayons can be recycled and re-purposed into new colorful crayons. This teaches them about protecting our planet by making less waste.
They also observe the science concept change of state. The solid crayons melt to liquid when they are heated in the hot oven, and then when they were removed from the heat they returned to a solid in the new shape.
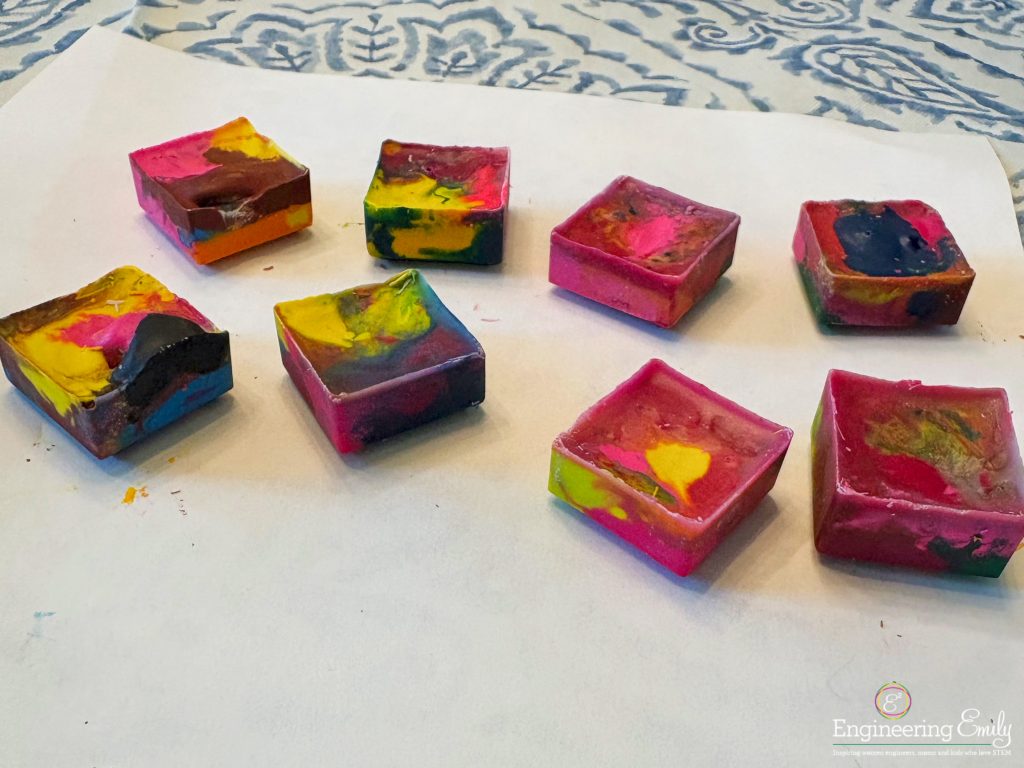
The crayon colors did not mix together when the crayon pieces melted because we didn’t stir them together, so the colors are all connected together but not mixed in the new rainbow crayon (although you can carefully try to mix the colors with a toothpick while it’s melted and see what happens).
Your kids can practice colors by identifying the colors of the crayon pieces and finding them again in the new homemade crayons, and you can practice counting with your child as you place each crayon piece into the silicon mold.
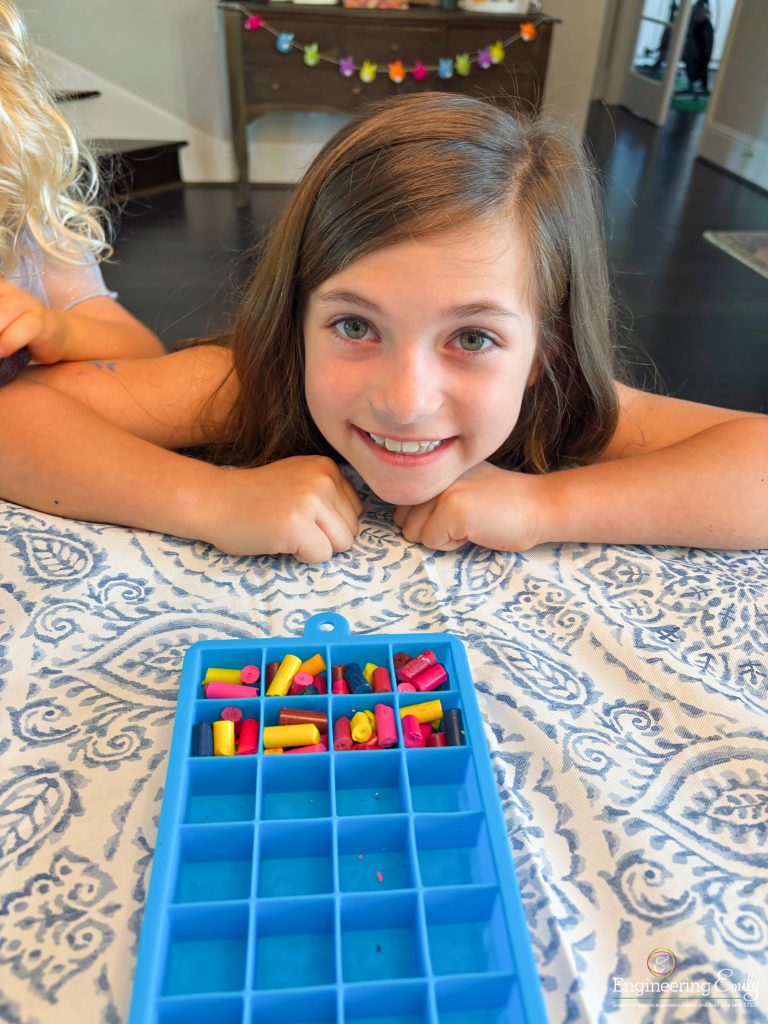
Remember to start saving your crayon pieces whenever your kids break them, and soon you will have enough saved to do this activity. We hope you have as much fun creating and coloring with these crayons as we did!
If you like this activity and want to have it with you anytime anywhere, download this activity in my shop for only $0.99. Or you can get this activity and 9 other rainbow-themed STEAM activities in my Rainbow STEAM Activities for Kids printable pack for only $2.50.