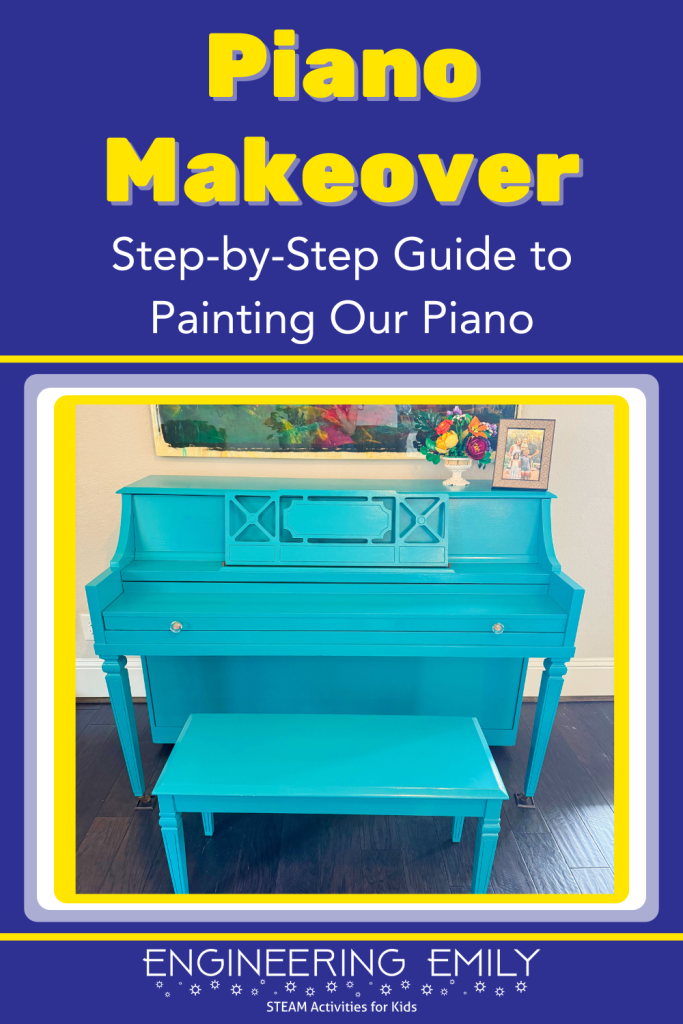
My family bought a used piano over 4 years ago, in January 2022. I had always wanted to learn to play the piano and I also wanted my kids to grow up playing the piano. Brand new pianos are very expensive, and since we are inexperienced and a young family that isn’t gentle on furniture, we decided to find a used piano.
Long before we bought our piano, I wanted to have a brightly colored painted piano. I purposely looked for an older piano. A neighbor was selling their piano, and it perfectly fit the bill of what we wanted, so I bought it.
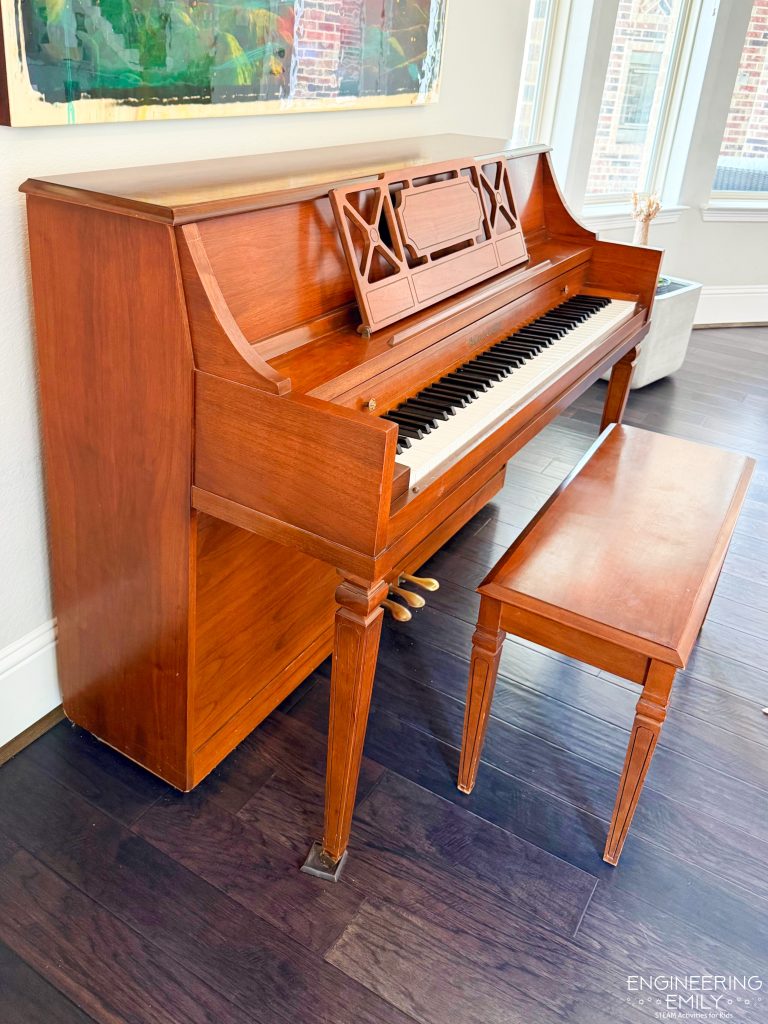
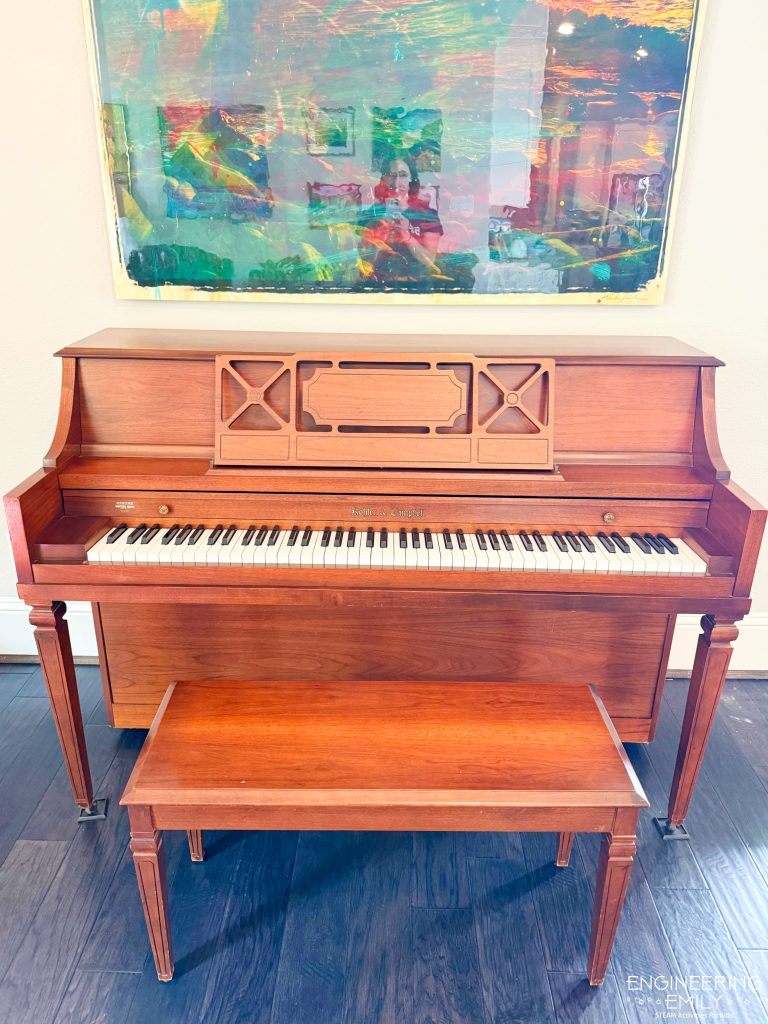
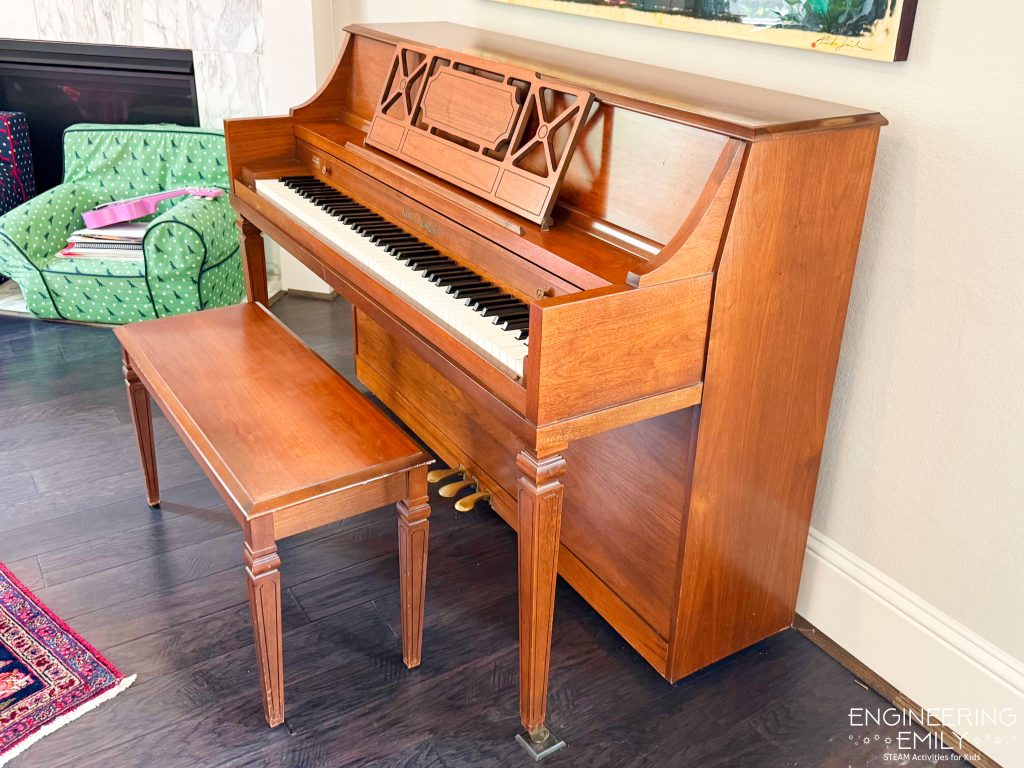
It was very beautiful as-is, despite being almost 50 years old. It only had one owner before us, so it was well-cared for, but clearly used and loved – with chipped keys and some scratches on the wood.
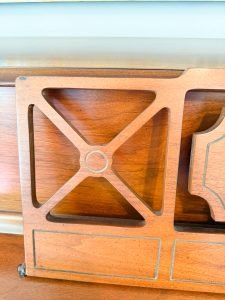
I started planting the idea of painting the piano with my husband even before we bought it, but to get the piano in our house we had to hire piano movers because it was too heavy for us to move it ourselves. My husband had no interest in sanding and painting the piano in our house, and pointed out how difficult and/or expensive it would be to move the piano to the garage just to paint it.
That’s when I began dreaming on Pintrest instead. I would search for and save pins about painted pianos. I read blog post after blog post about how people painted their pianos. After years of research, I felt like I knew the best way to do this. I started asking my husband again last fall, but he continued to say no. Finally, this spring break our family had no plans and our piano teacher was out of town so we didn’t even have lessons. We were talking about what to do, and I said, “why not use the week home with no lesson to paint the piano?”
My husband asked if I knew what to do, and I said, “Yes, I have read blog posts and have a plan.” He made me show him a few of the blog posts I’ve read (linked above), and finally, grudgingly, he agreed to help me!
Below is the step-by-step process we followed to create the piano of my dreams! It’s like a daily journal that I recorded as we worked with the good, the bad, and the ugly included in each step! I made instagram reels for each step, which are linked at the end of each step. I made a YouTube video covering the entire process linked below!
Watch the Piano makeover on YouTube
STEP 1: Select a Color and Buy Supplies
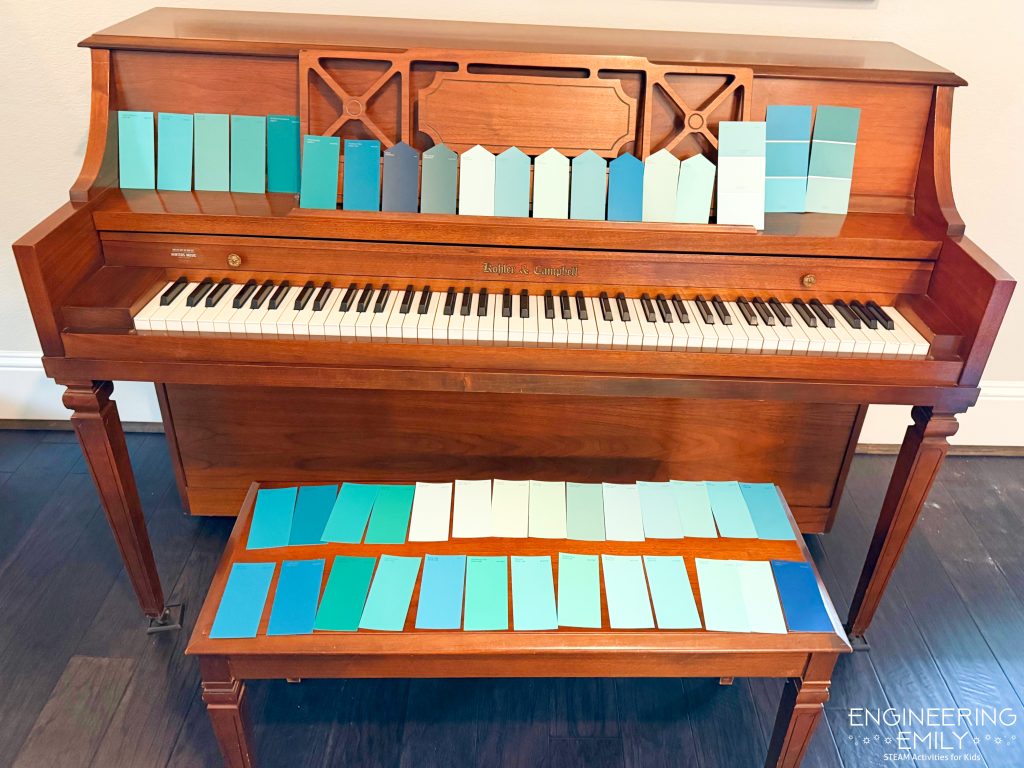
We started at Lowe’s grabbing paint samples. I knew I wanted a turquoise/teal shade but I was unsure exactly what color and if I wanted it light, dark, or somewhere in-between. I took home a swatch of every shade of teal available at Lowes. During that trip we also bought sand paper, primer, tack cloths, and paint brushes.
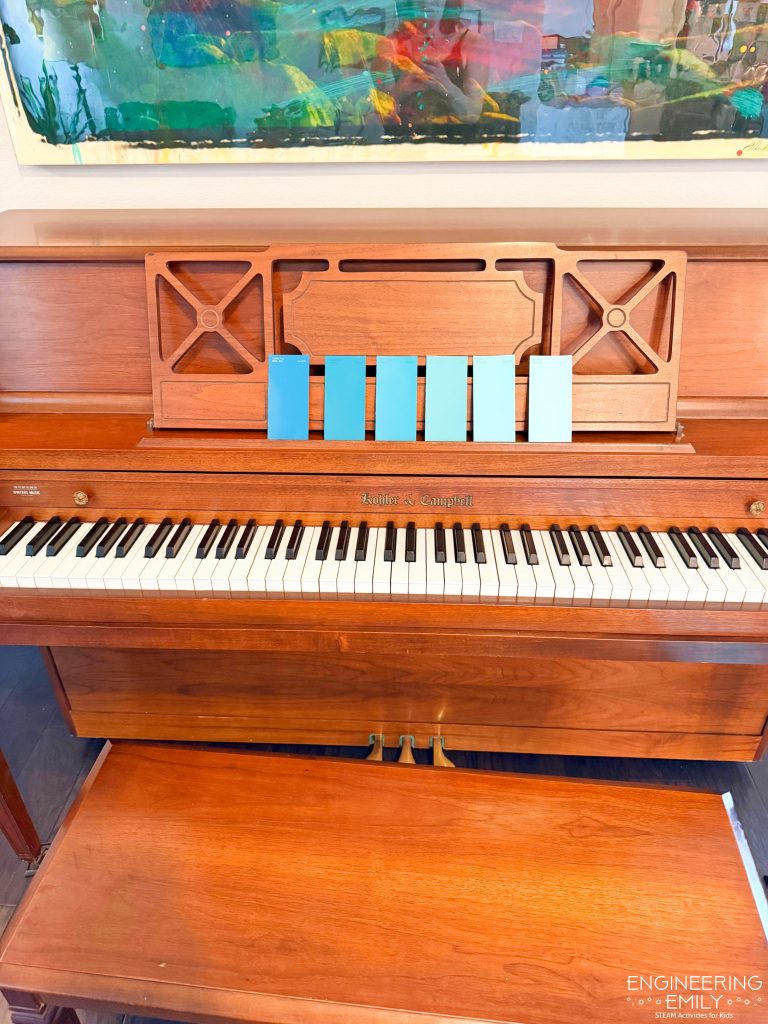
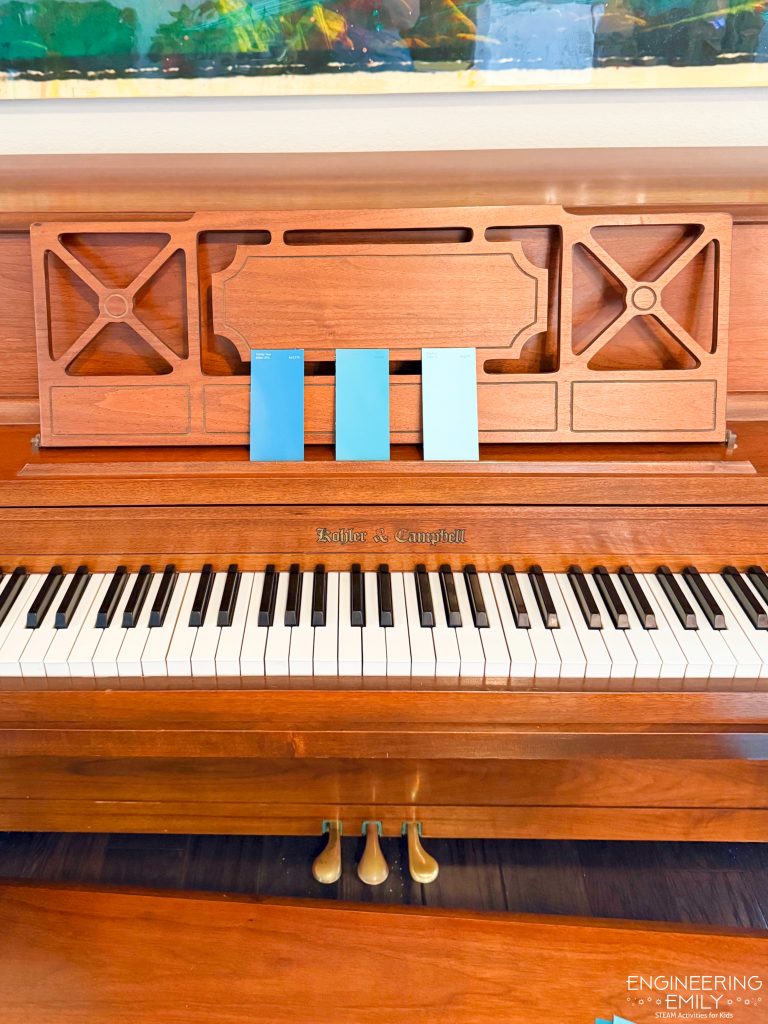
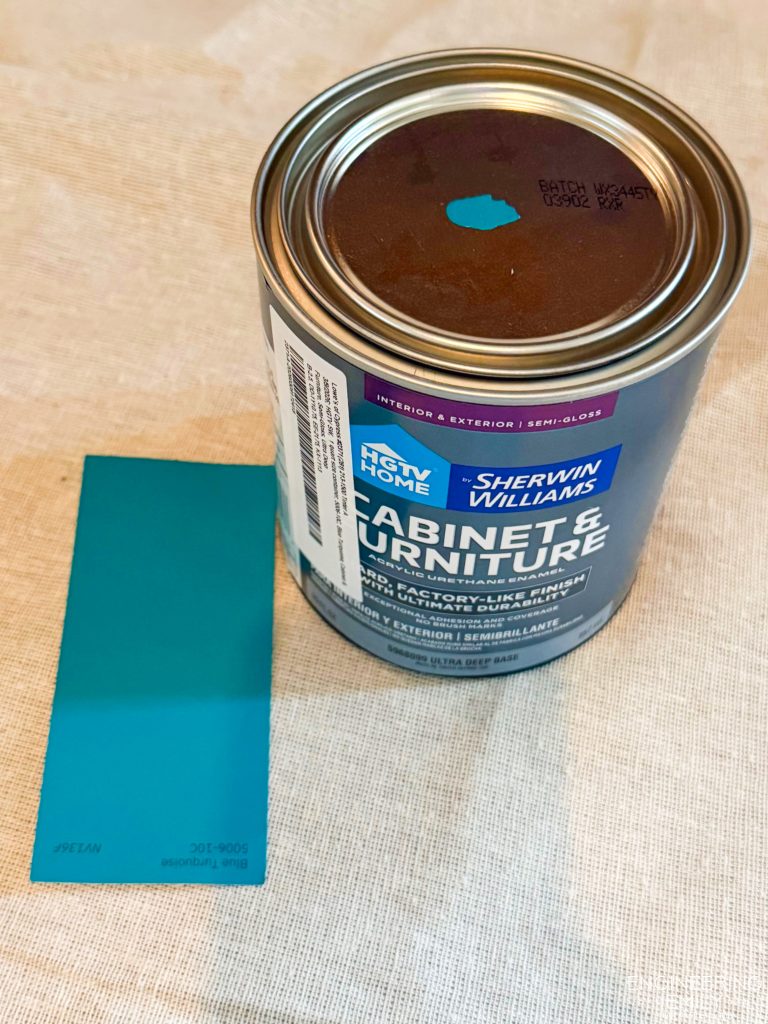
I placed all the swatches on my piano and finally was able to narrow it down to 6 colors. I couldn’t decide, but I knew I had time because we needed to paint a few coats of primer first. By the next morning, I was sure which color I wanted: I selected a bright turquoise blue. My piano was going to be the bright, bold, and beautiful statement piece I always wanted with this color!
STEP 2: Disassemble as Much as Possible
My husband is a mechanical engineer, so the part of this project he was most excited for was taking apart the piano. We wanted to take as much off the main piano as possible to be able to paint each piece better, to make less mess inside, and try to protect the piano better.
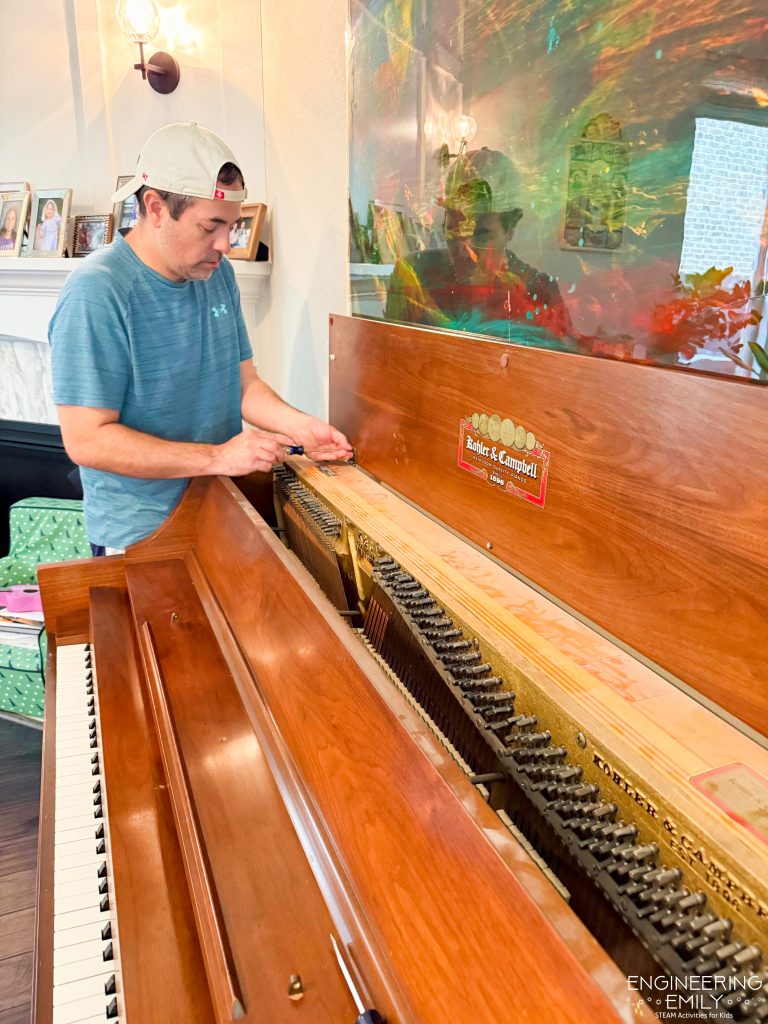
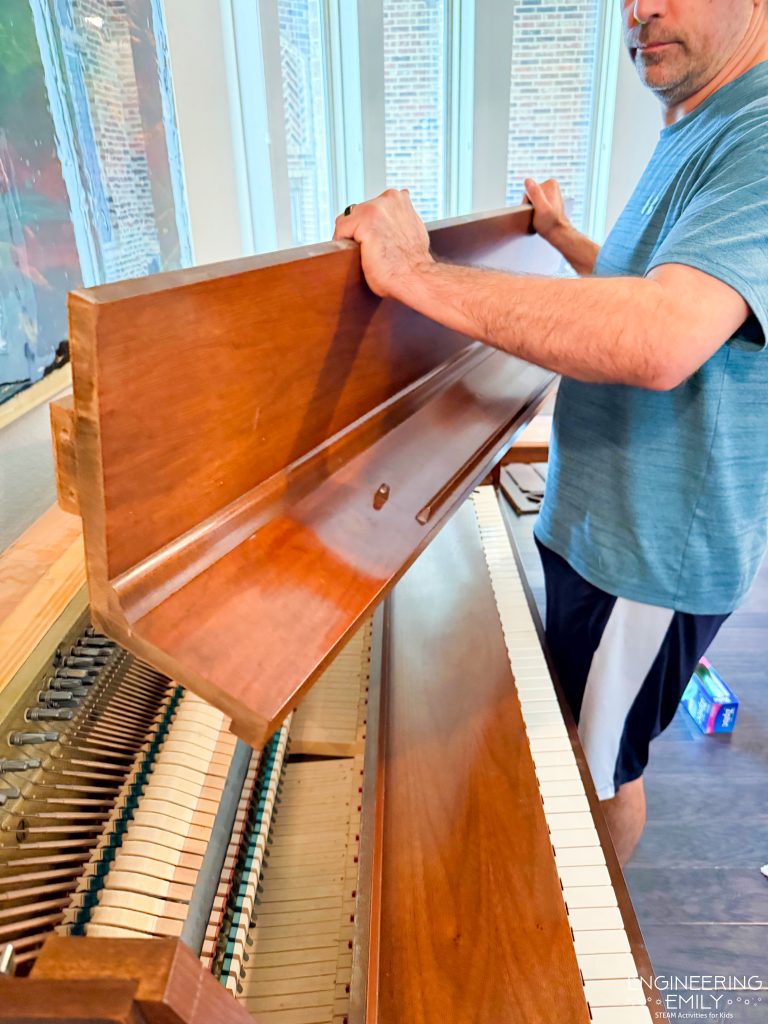
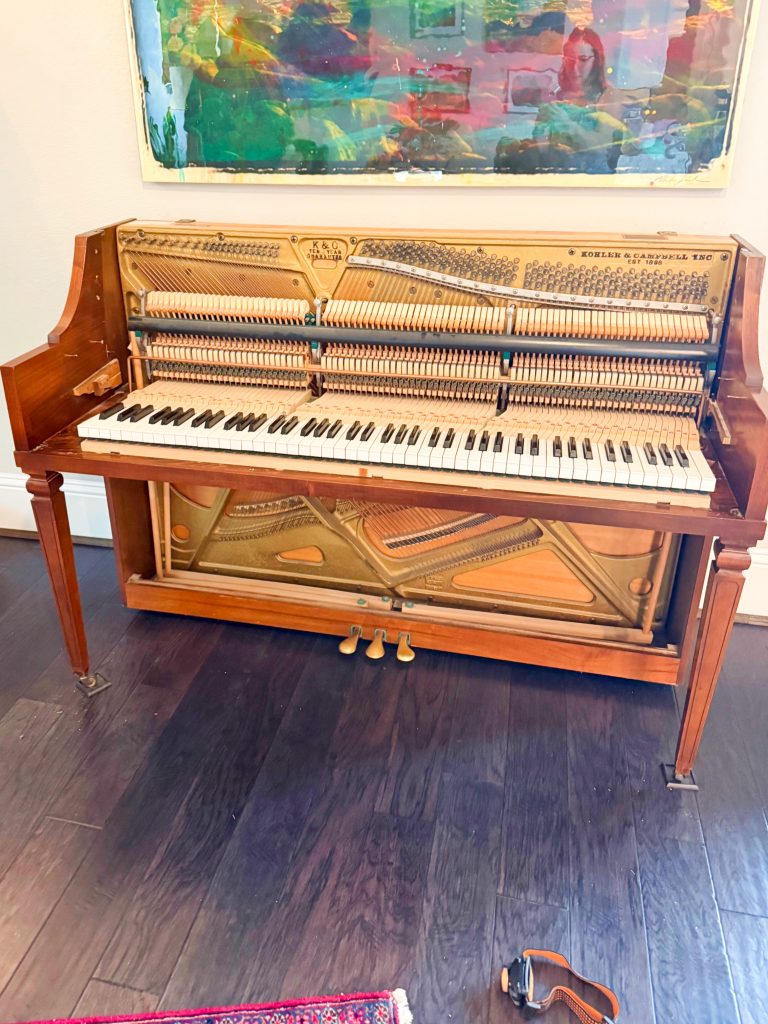
We took off every piece that was possible to remove from the main base. While we removed pieces I stored the screws and small pieces in plastic bags that I carefully labeled (to make it easier to put it back together). I also added painters tape with a matching label to the back each large piece we took off the piano.
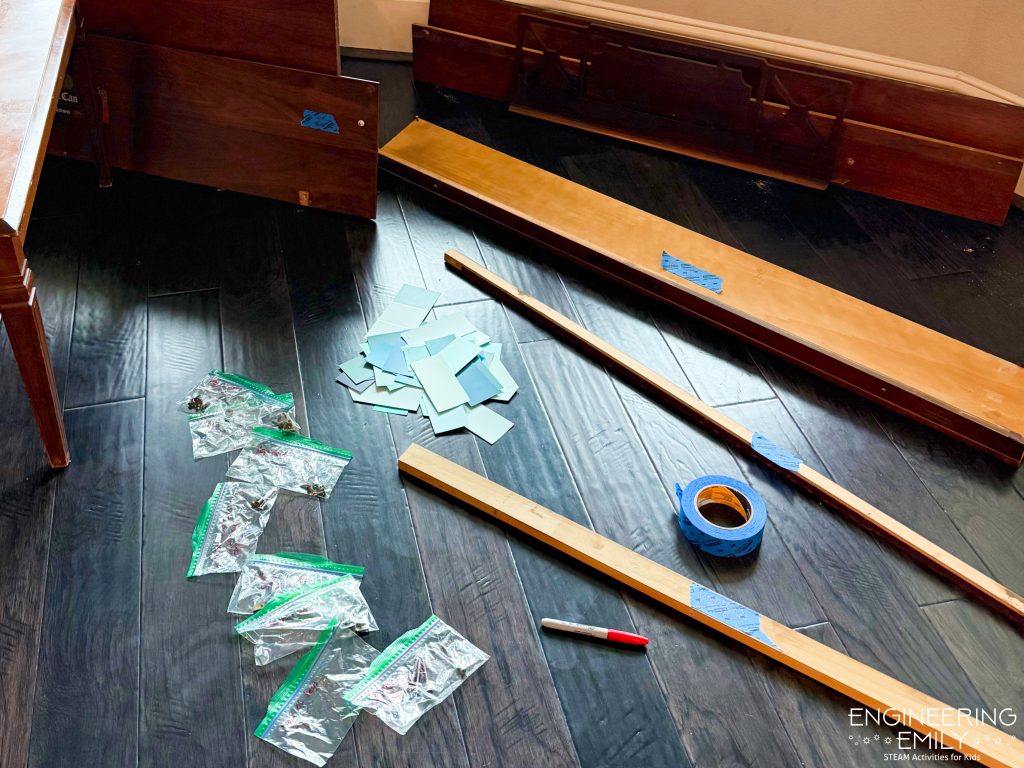
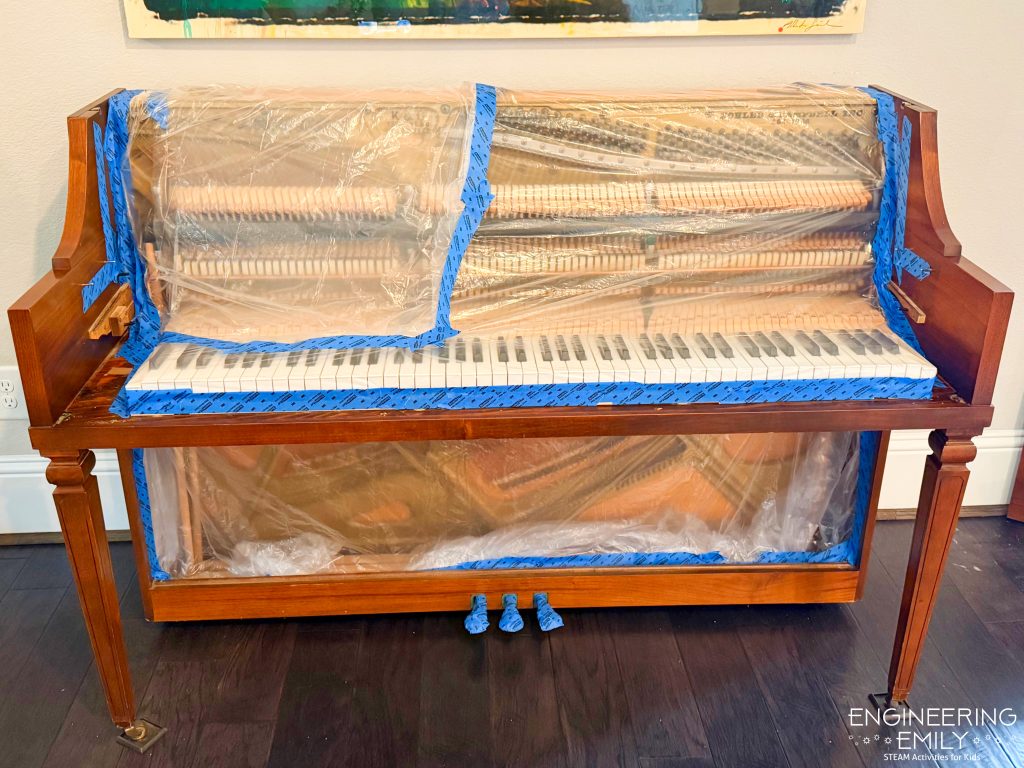
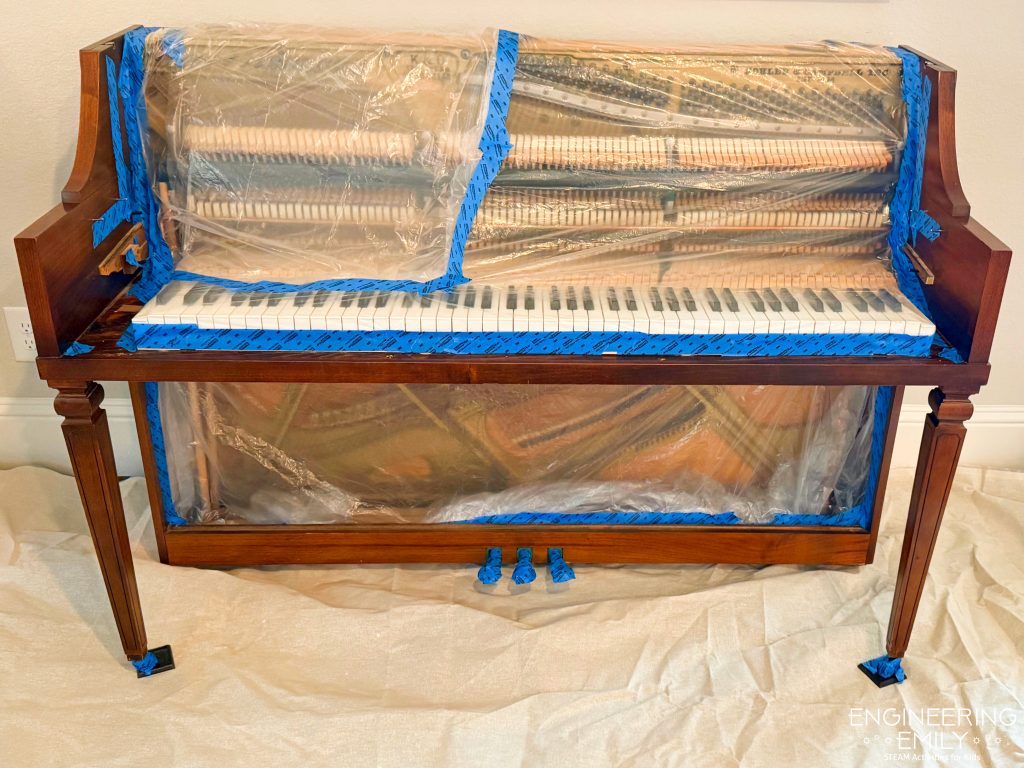
Once we removed all we could, we cleaned all the surfaces, and covered the exposed piano parts that won’t be painted with a plastic cover and painters tape.
Now, we were ready to sand!
STEP 3: Sand the piano
This step was probably my least favorite of the piano painting process. Sanding is not fun. It’s messy, dusty, difficult, and loud (if you use an electric sander).
My husband used our electric sander for all the flat surfaces on the piano. Meanwhile, I hand sanded all the curved and hard to reach surfaces. I learned hand sanding is a good arm workout!
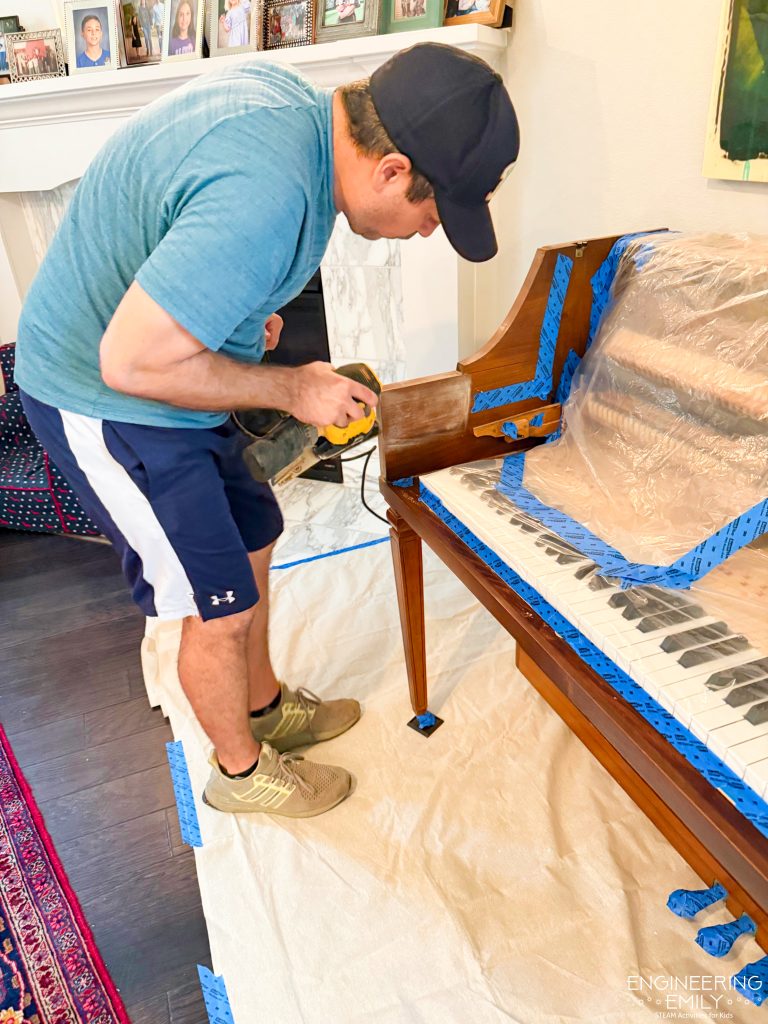
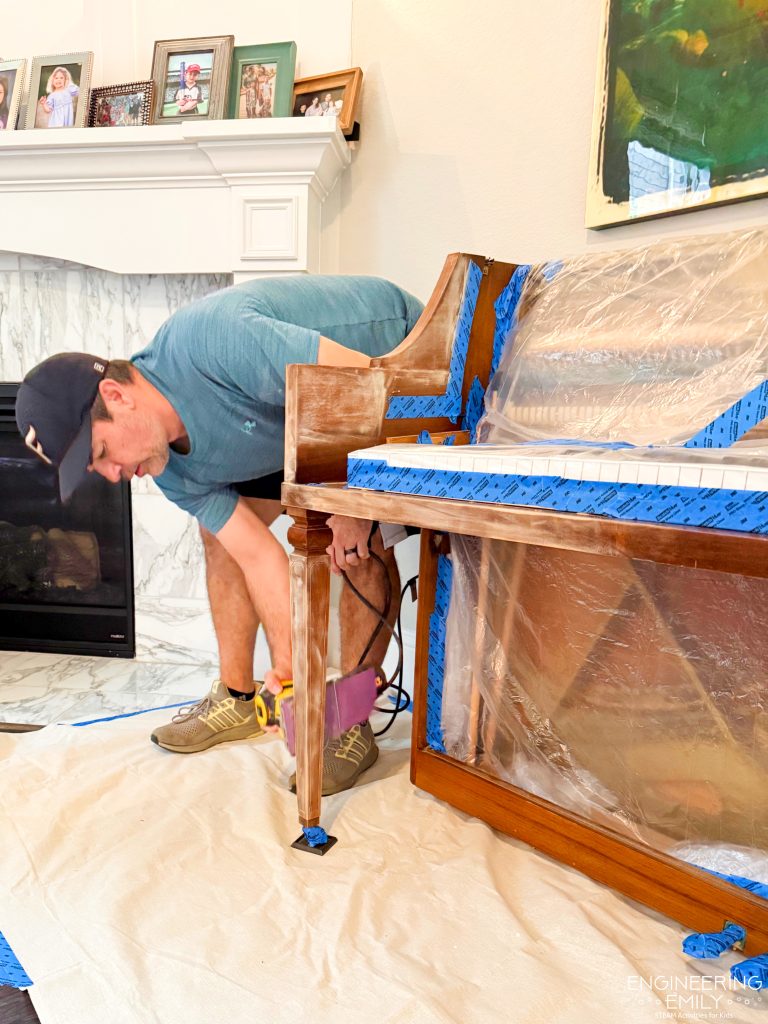
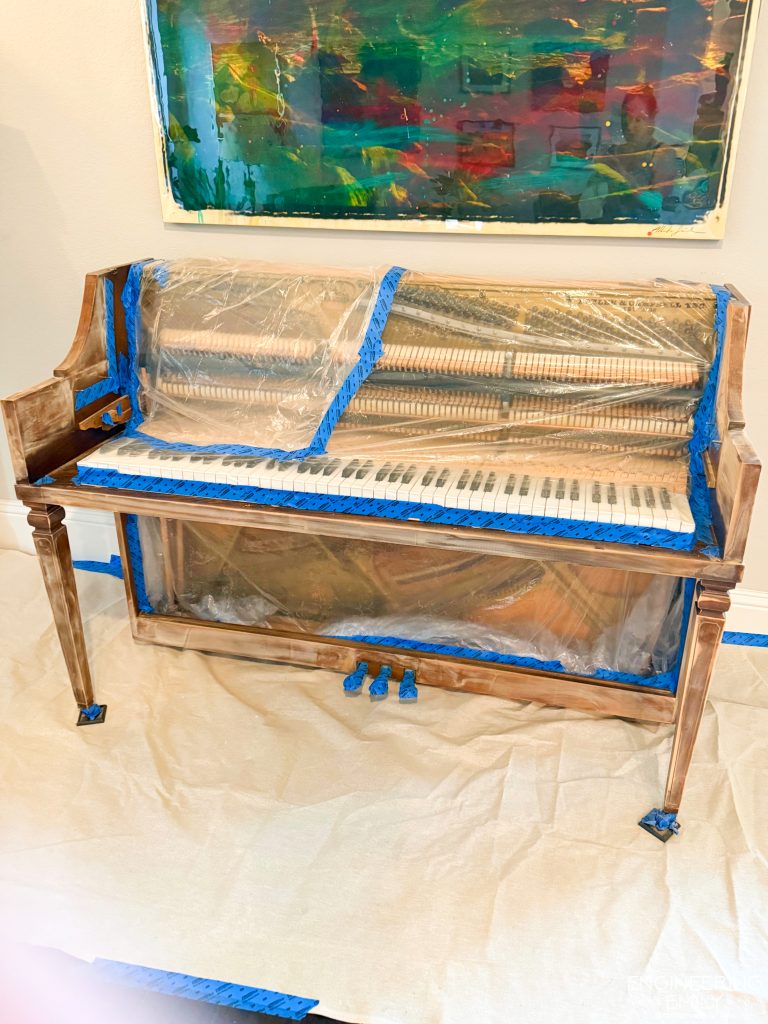
We sanded until the surfaces are smooth and the glossy finish on the wood was removed.
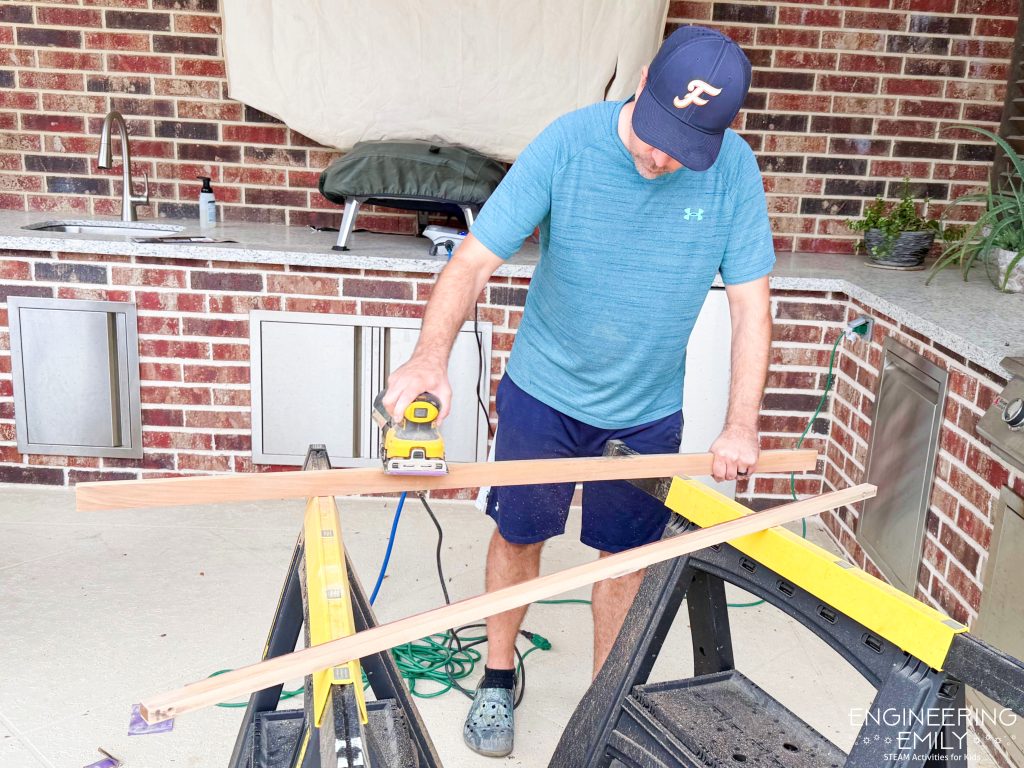
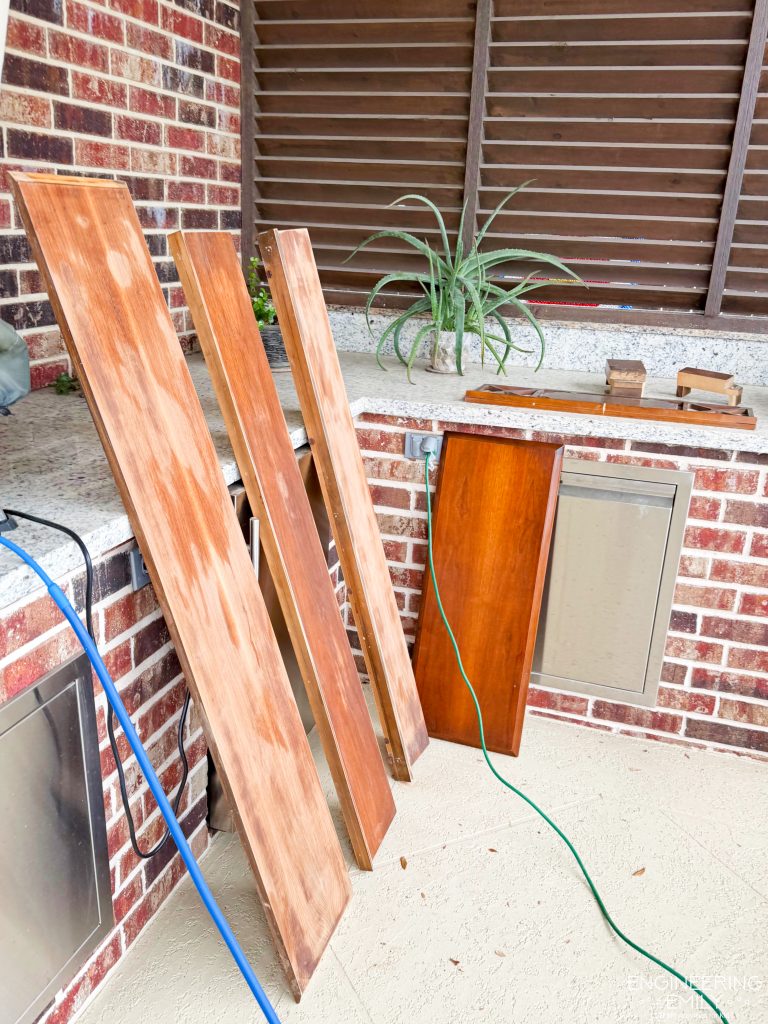
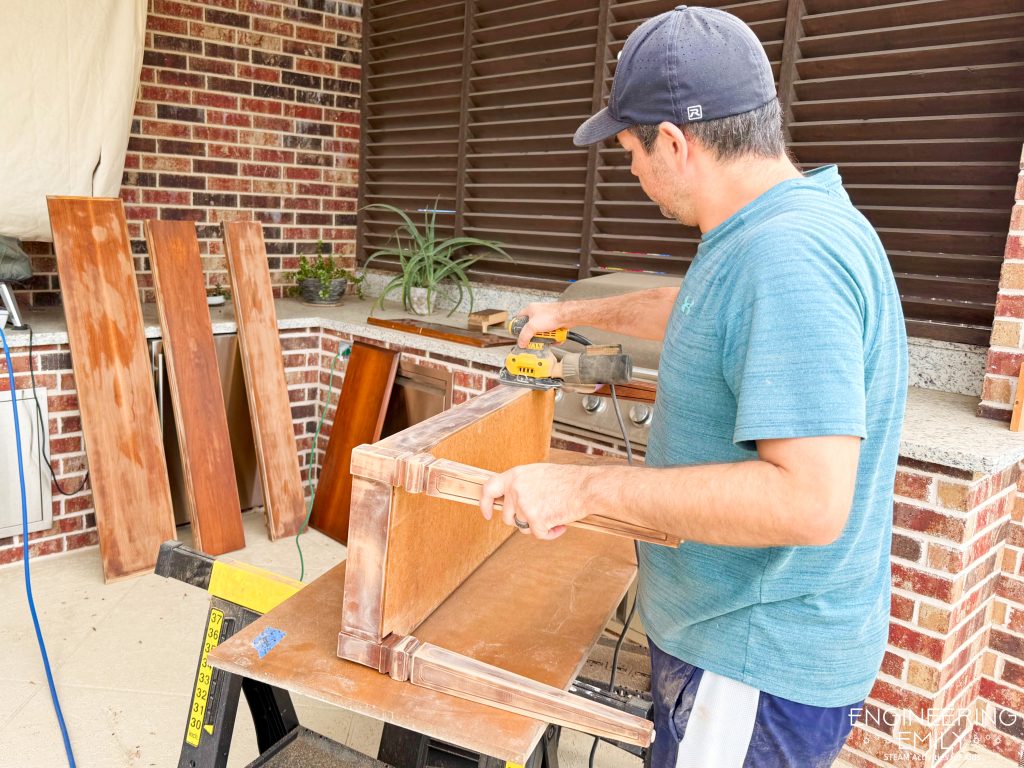
The sanding made lots of dust! So after sanding, I wiped all the surfaces with a damp cloth, vacuumed up the dust, then wiped the surfaces again with a tack cloth to make sure we got all the dust and particles off the piano pieces before painting.
Next up, primer!
Step 4: Paint on Two coats of Primer
The workers at Lowes recommended we use Sherwin Williams Cabinet, Door and Trim Primer on the piano. We bought the quart size can, and than was plenty of paint for two coats on our piano.
We did two coats of primer to make sure we had even coverage. We did one coat the first day after disassembling and sanding (steps 2 and 3), then waited 24 hours for it to dry completely before adding the second coat.
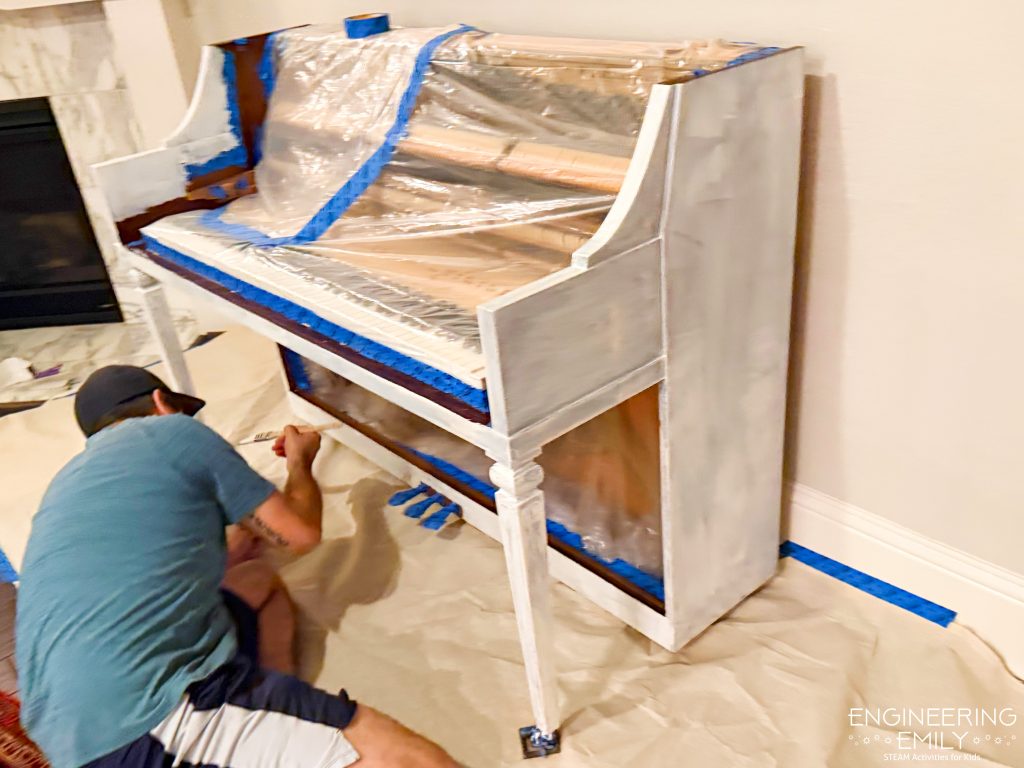
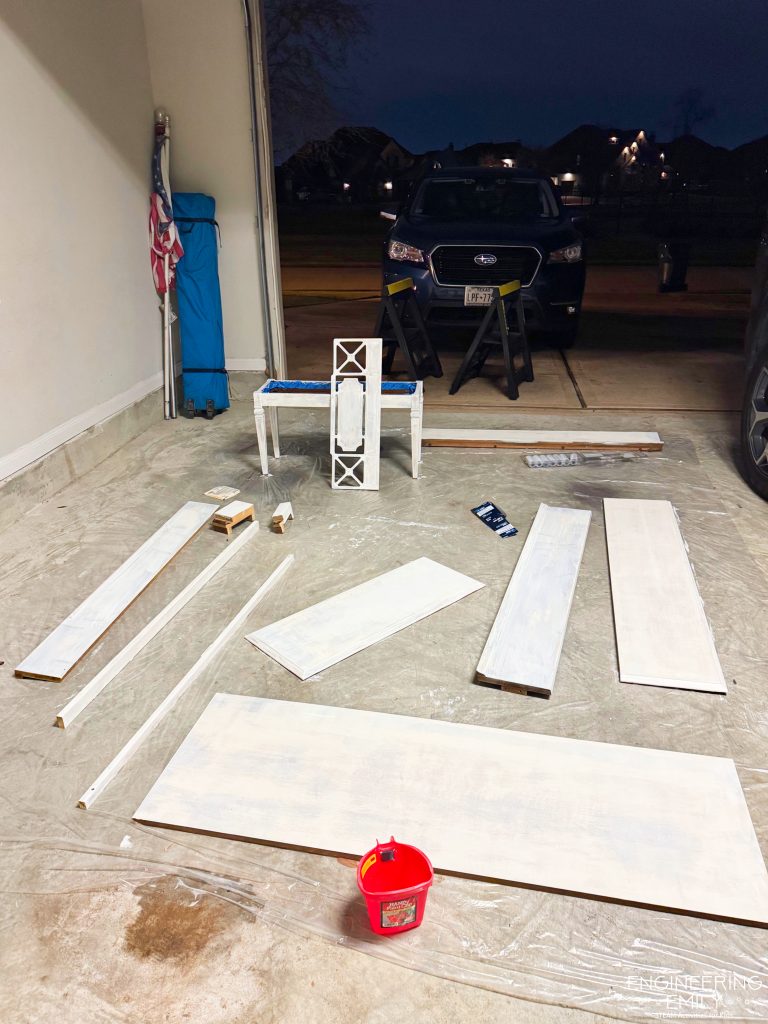
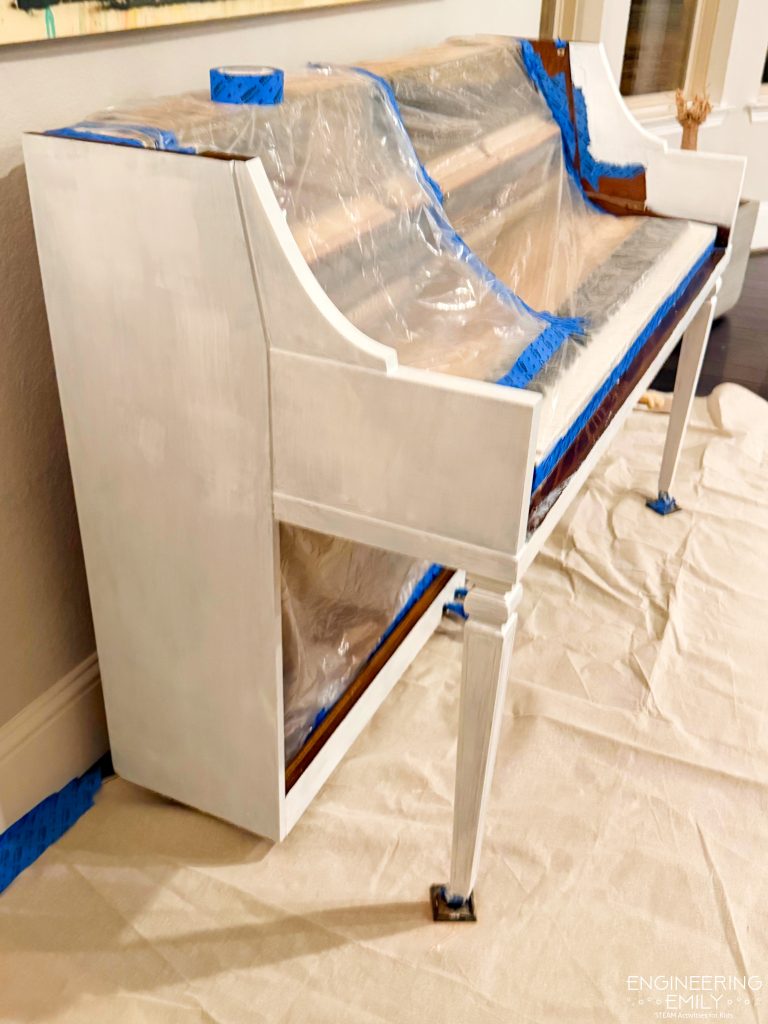
Similar to our sanding roles, my husband painted the large surfaces, and I did the detail work. By the second day I found I was using too much paint and there were paint drips all over the areas I painted.
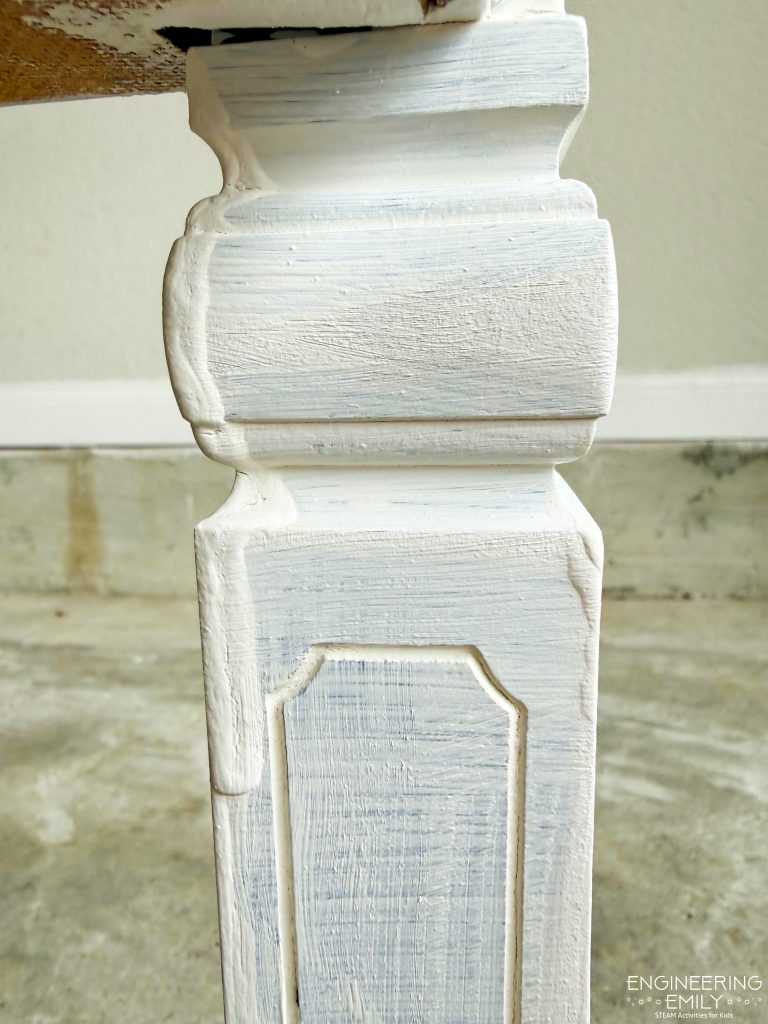
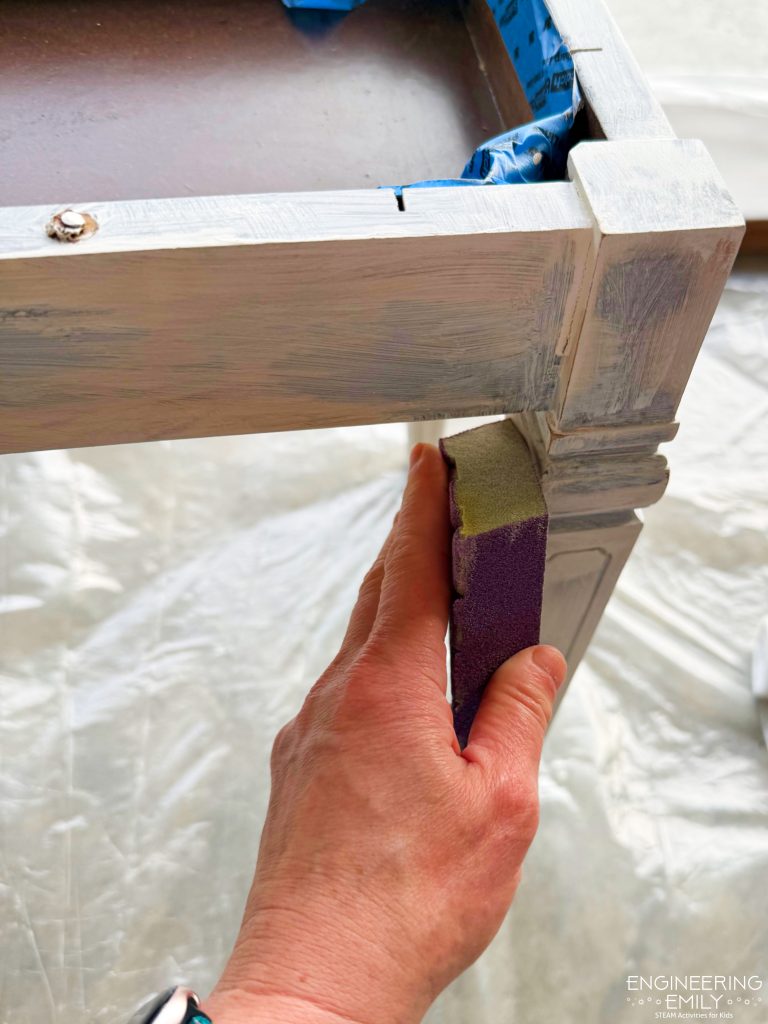
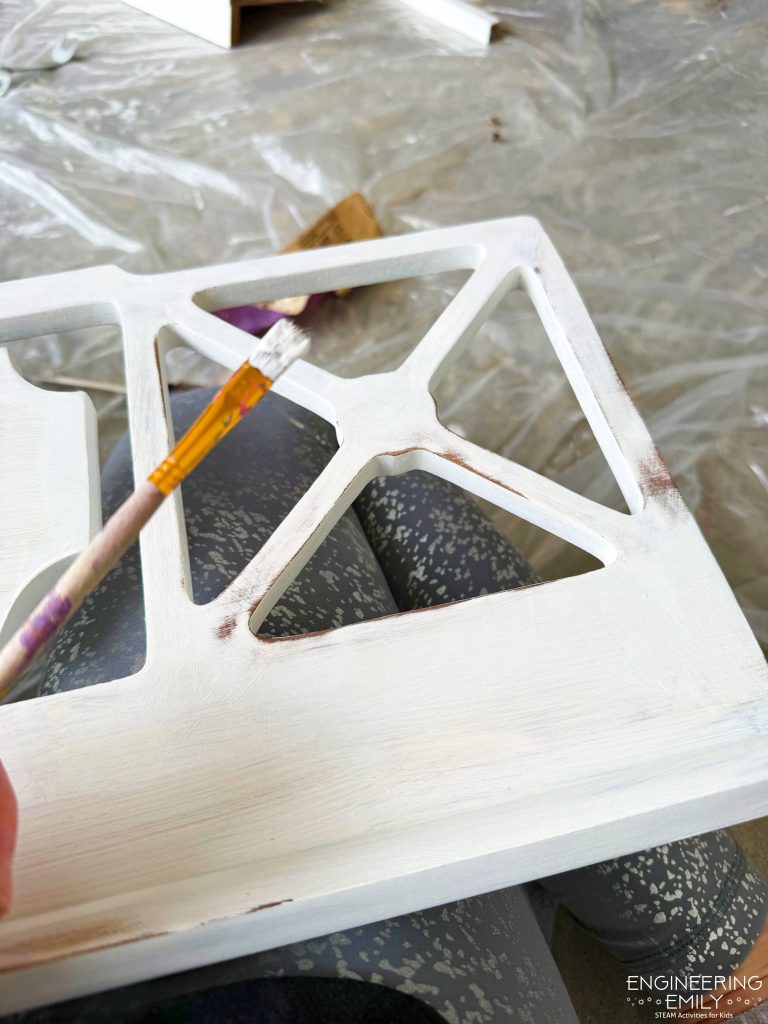
I sanded off all the paint drips and tried to be more careful for my second coat. I used a smaller paint brush and that helped a lot too. I wanted this painted piano to look professional, but I was scared I’m not up to the task. Hopefully, I can get the color on without globs of paint!
Step 5: Paint three coats of color paint
This is where it gets good! After disassembling, sanding, and priming our piano, we were finally ready to paint with the color I selected! For the color paint, I used Sherwin Williams Cabinet and Furniture paint in semi-gloss. I brought the Blue Turquoise paint swatch that I selected with me to Lowe’s and they were able to mix the paint in my selected color. We bought a quart of this paint as well, but on the third coat of paint we started to run out and had to go purchase a second quart. I would recommend just purchasing a gallon to start with, that would be more cost effective and you won’t run out and will have extra left over for touch ups in the future.
It’s a beautiful bright turquoise, exactly the pop of color I always envisioned for my piano. It was so exciting to see the color going on the first day. I wanted good coverage, so we decided to do 3 coats of paint over 3 days, letting it dry for 24 hours between each coat.
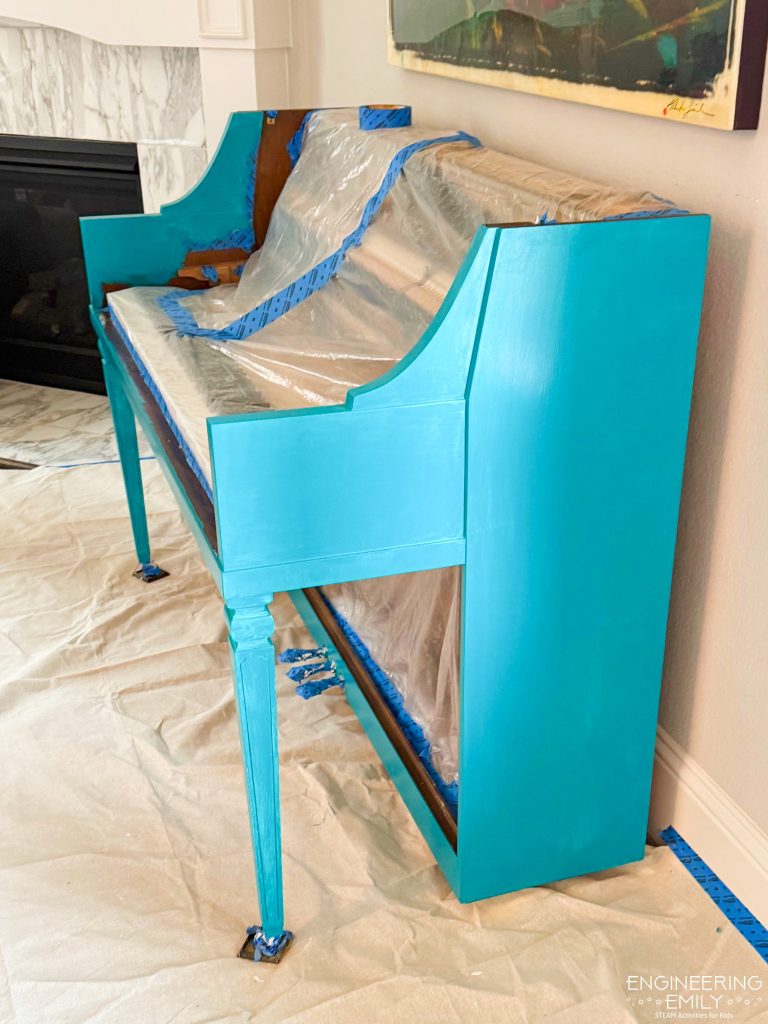
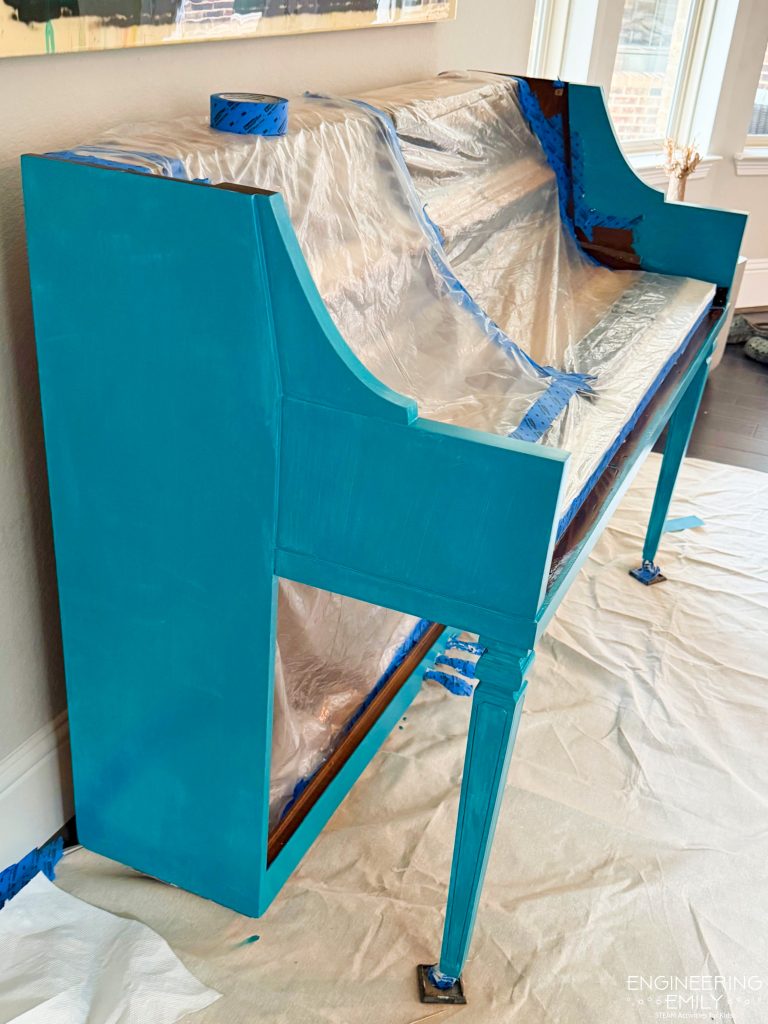
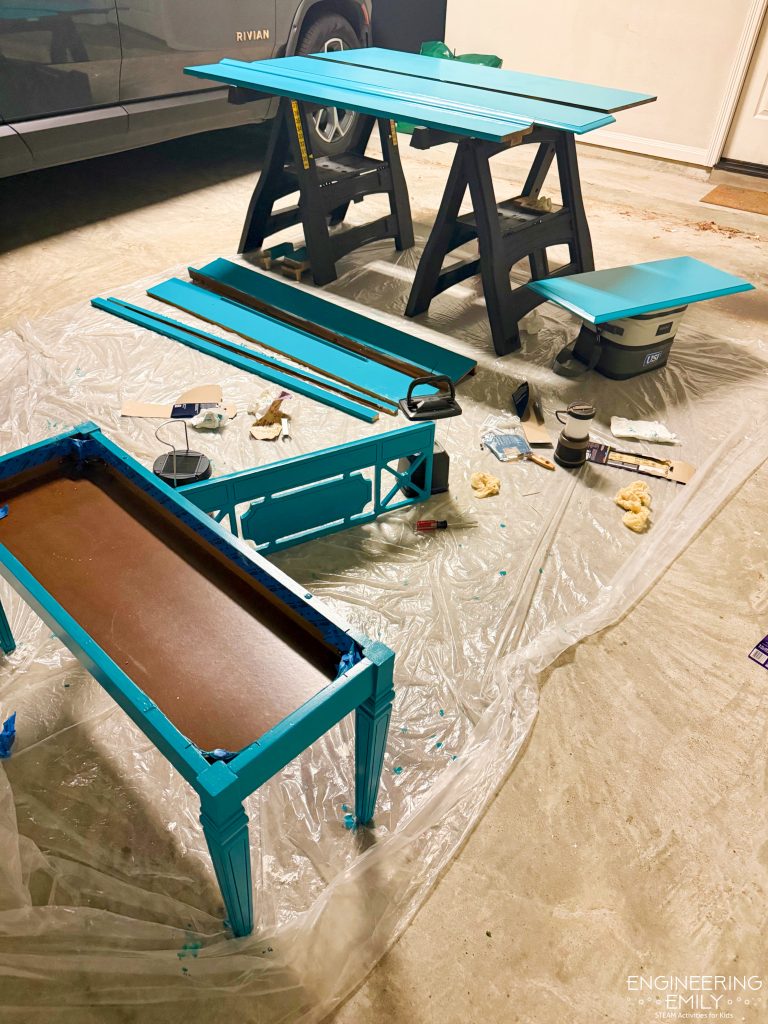
By the 3rd day of painting color (and 5th day painting including the two coats of primer), we were getting burnt out, and the paint wasn’t going on smoothly in the garage because the weather had changed. I was pretty discouraged, but we continued on.
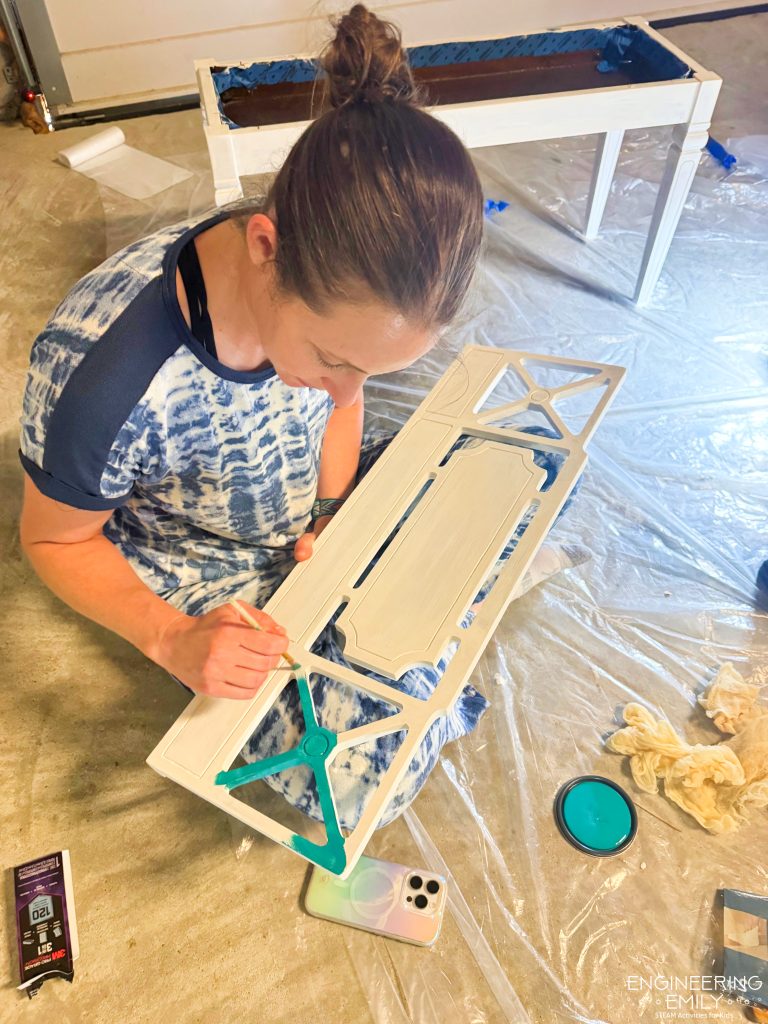
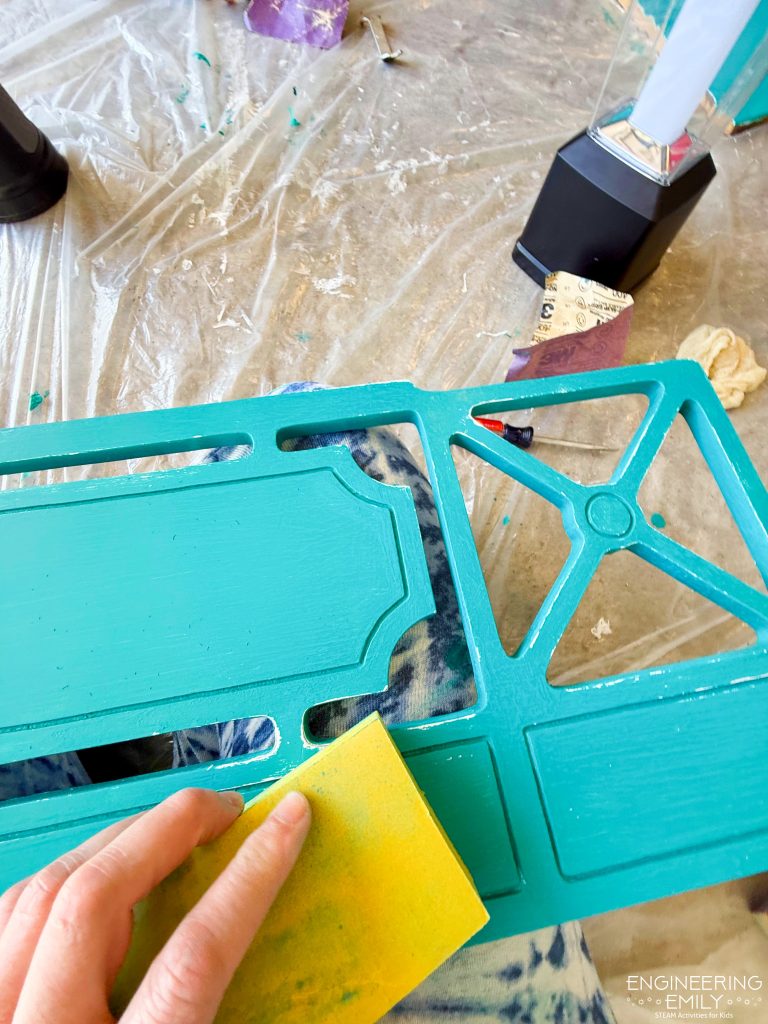
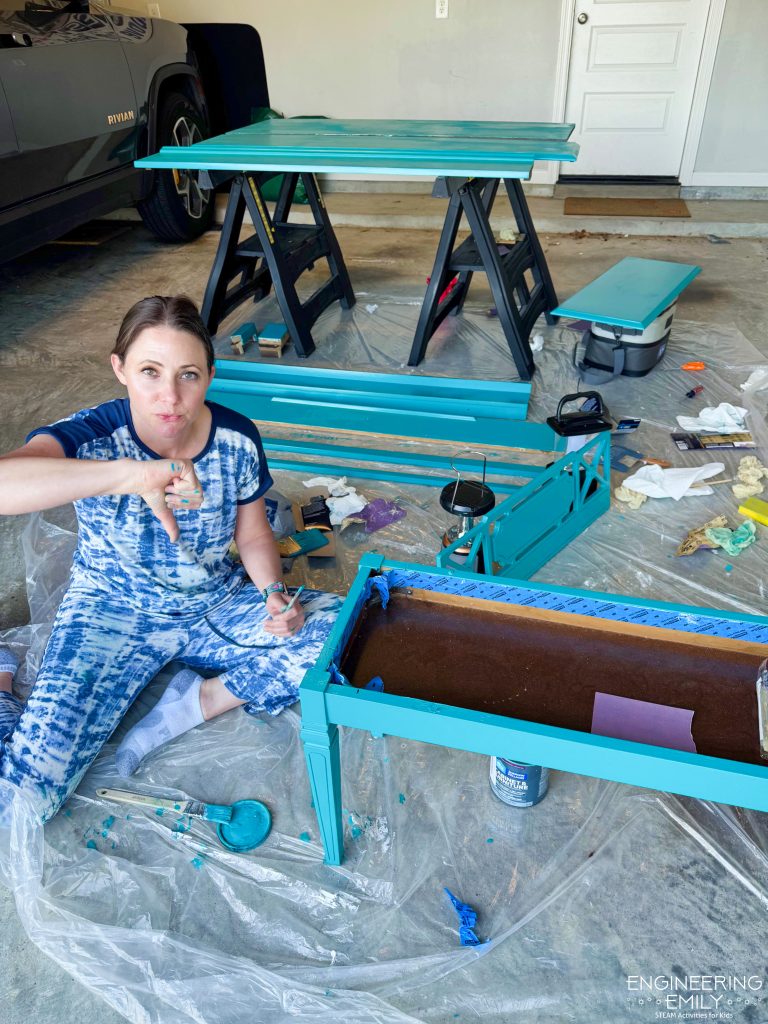
I’m happy with how it’s turned out! Now we’re letting it dry completely and deciding if we need a clear polyurethane top coat or not. We were told we don’t need it with the type of paint we selected, but I really want it to be durable. Especially the bench top where we will be sitting a lot to play.
STEP 6: Paint three coats of Clear Topcoat
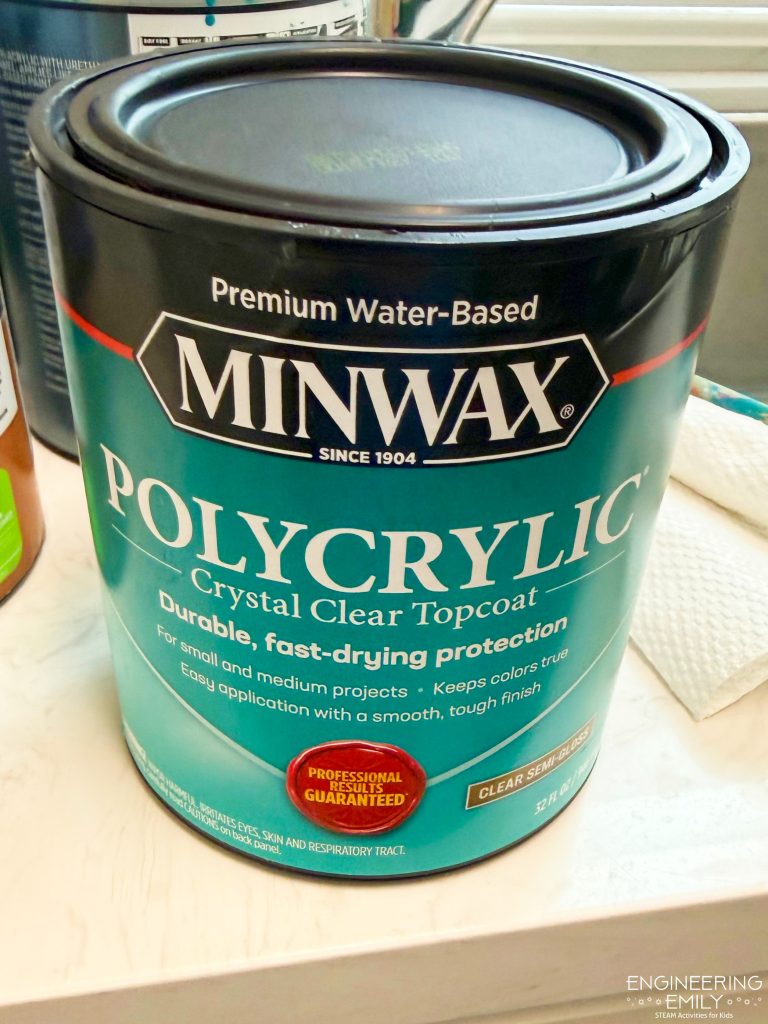
We’re finally in the home stretch, and I can see the finish line! After some deliberation, we decided to do a clear polycrylic topcoat in semi-gloss. This coat is meant to add a layer of protection to the paint and also increase the glossiness, because I like shiny things!
For the topcoat we purchase Minwax Polycrylic Crystal Clear Topcoat in semi-gloss finish (pictured below). I bought a quart of this topcoat, and it was more than enough for three coats on the piano.
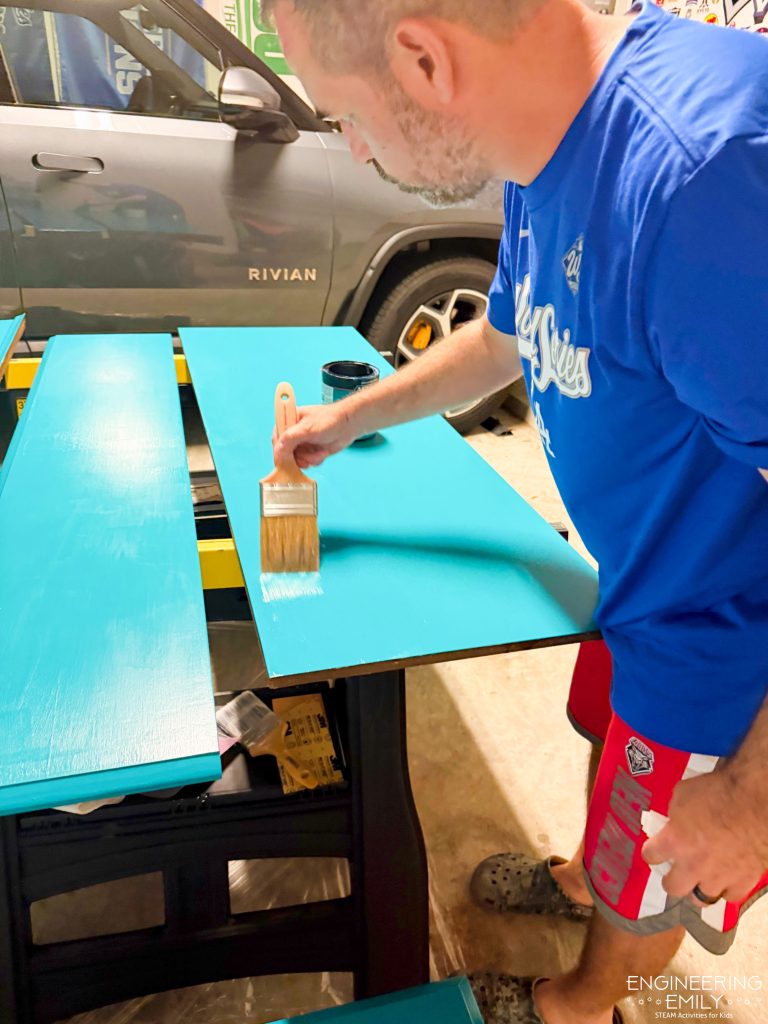
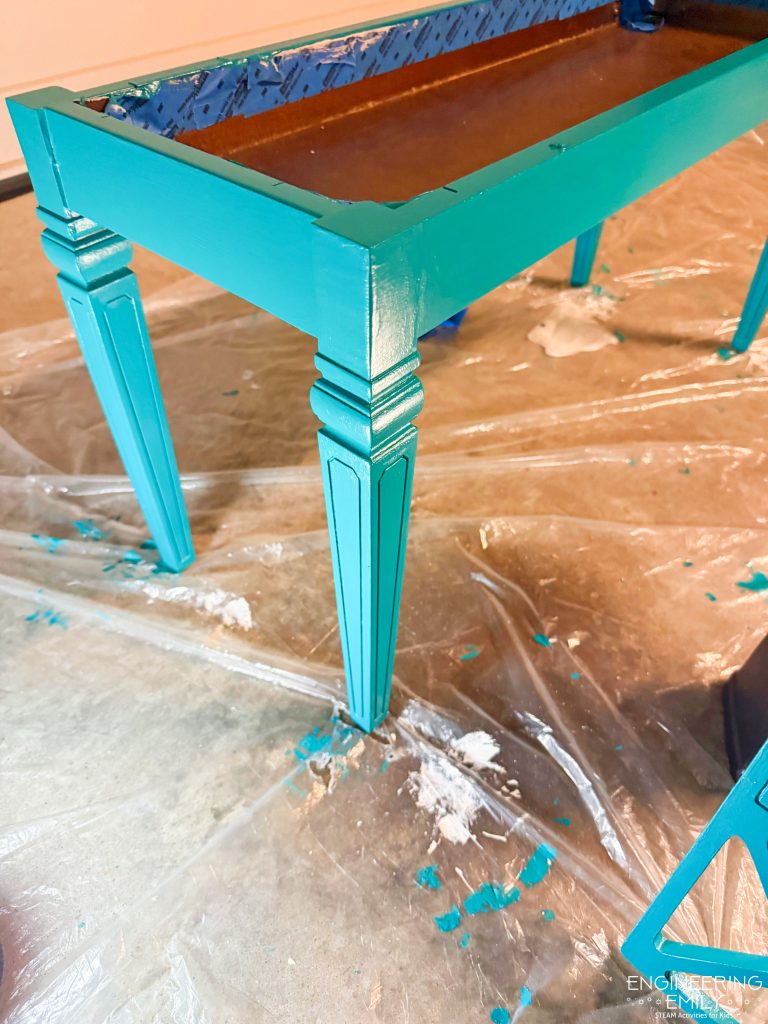
We plan to use this piano regularly for years with lessons and playing for fun, so we want the paint to last. In the end, it was an easy decision to add this layer to protect our work.
Our research said we should do at least 3 coats of the polyacrylic topcoat, but it dries very fast, so we were able to do all 3 coats in one day! We waited at least 4 hours between each coat and it was definitely dry each time we added another coat.
Now we’re leaving it to completely dry and set for several days. We will reassemble, and then it’s ready for the final reveal! I cannot wait to see it put back together and shiny turquoise!
STEP 7: Reassambly
It is finally time to see the fruits of our labor by reassembling the piano! We were so excited and set aside just a few minutes before dinner thinking this would take 15 minutes tops. We were wrong…
Even though we took precautions such as labeling all the parts we removed and saving the corresponding screws in labeled bags, we were still puzzled as to what went where, and in which order. We had to watch the videos we took several times, and it honestly felt like assembling IKEA furniture without instructions.
We quickly realized we had a problem because we didn’t paint the flat surface under the keys – we thought it was covered by a piece we removed from that spot that was painted separately. But that piece only covered about half the area. So this area needed to be painted.
Then, we were installed a piece on top of the keys and noticed the narrow front face wasn’t painted! We sanded it down so well that we couldn’t tell it was a side that needed painting and it isn’t obvious if you don’t remember exactly how that piece lay on the piano. Now we had two areas that needed to be painted before we could finish reassembly.
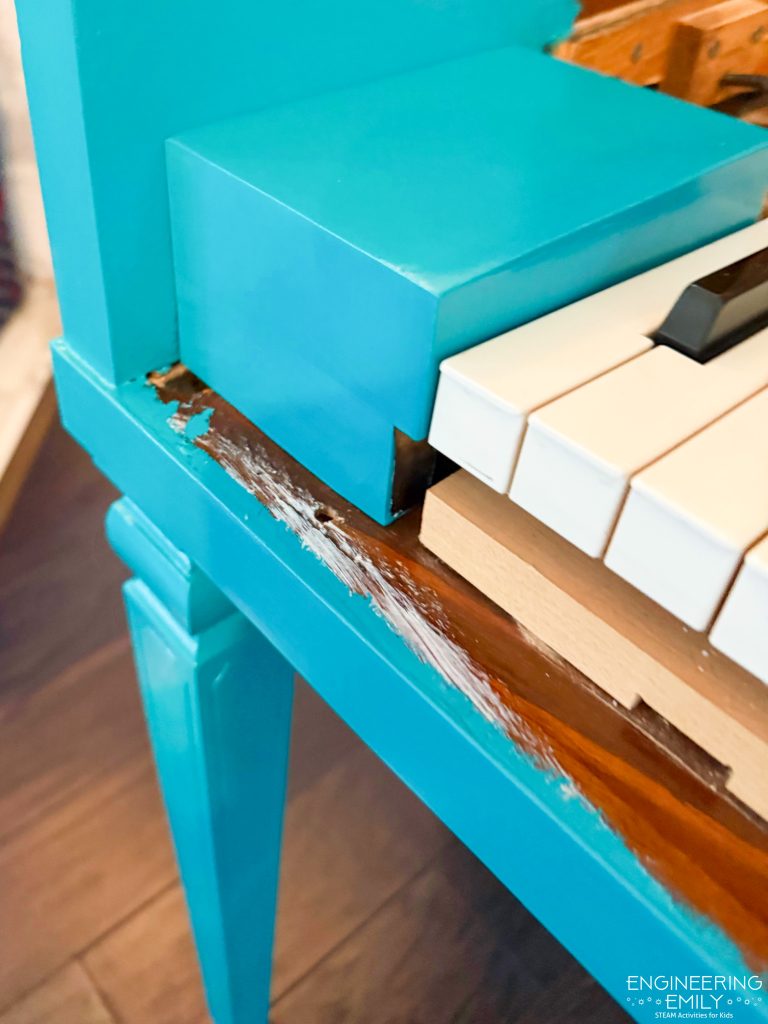
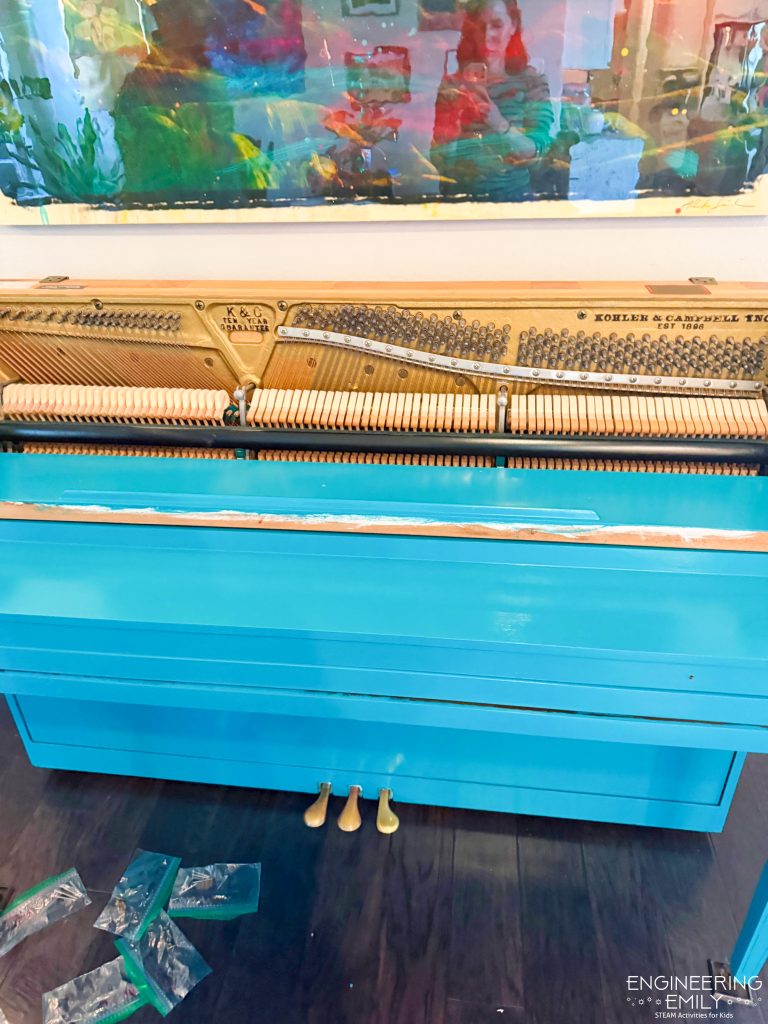
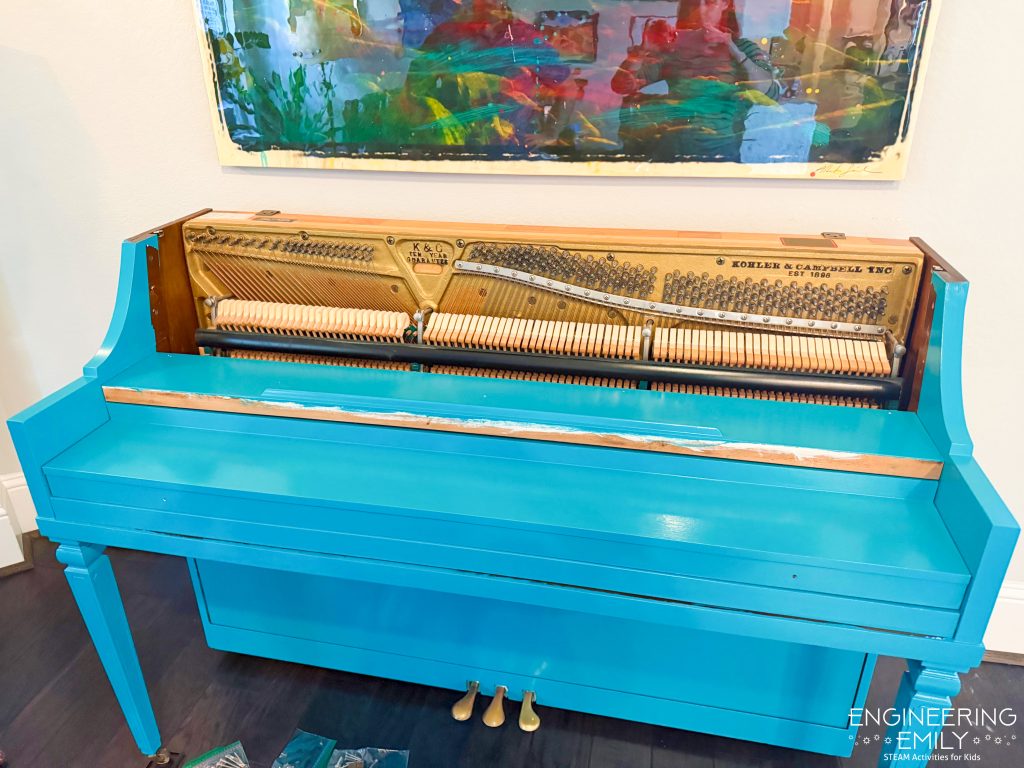
We spent the next two days doing the same thing for those two area that we did on the rest of the piano: sanding, two coats of primer, three coats of paint, and three coats of clear topcoat. It was not fun to go back and redo this work, but it was necessary.
Finally, we were ready to start again with the reassembly and it went much more smoothly! Everything went back where it was supposed to go without much effort, and the paint looks flawless!
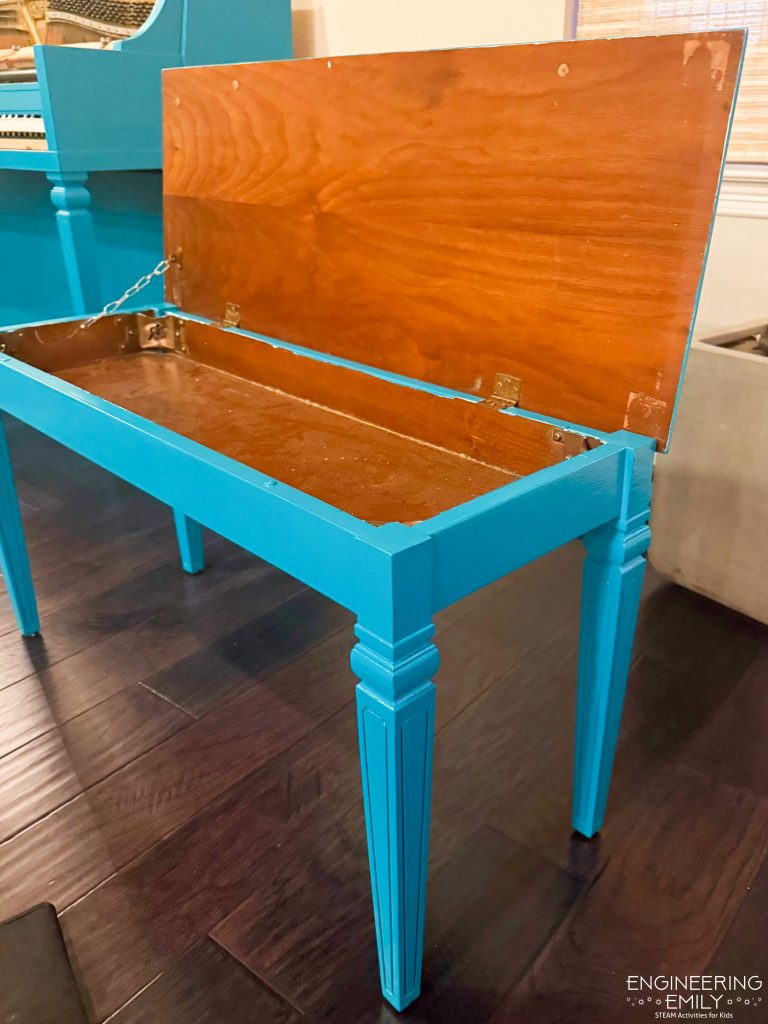
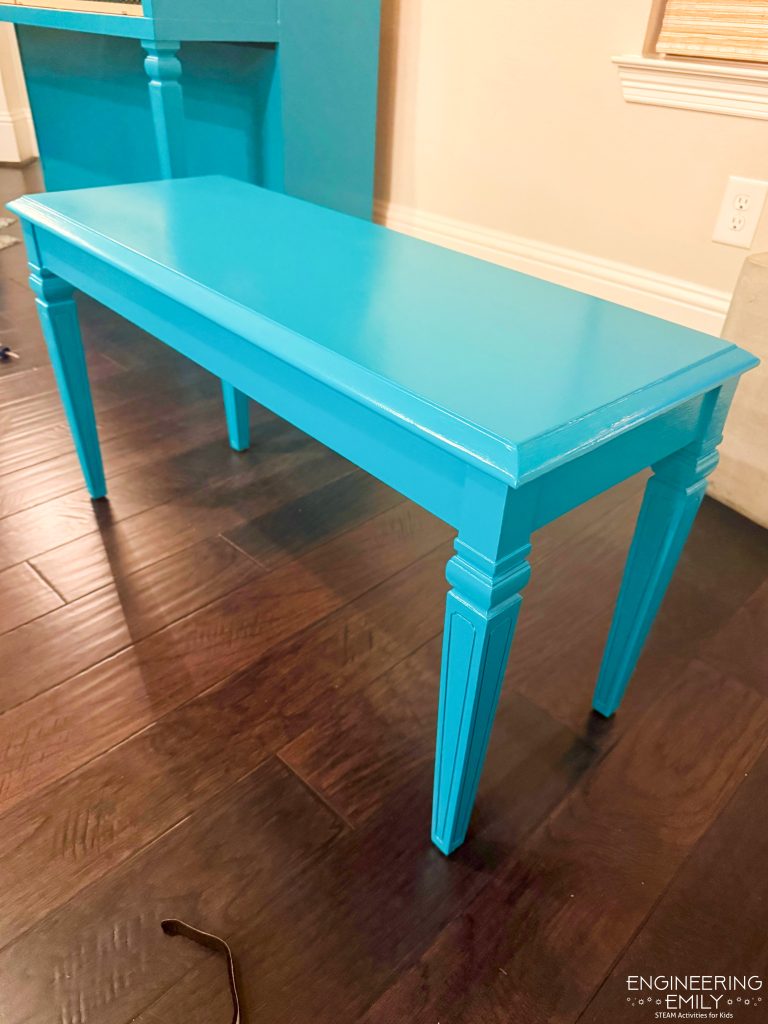
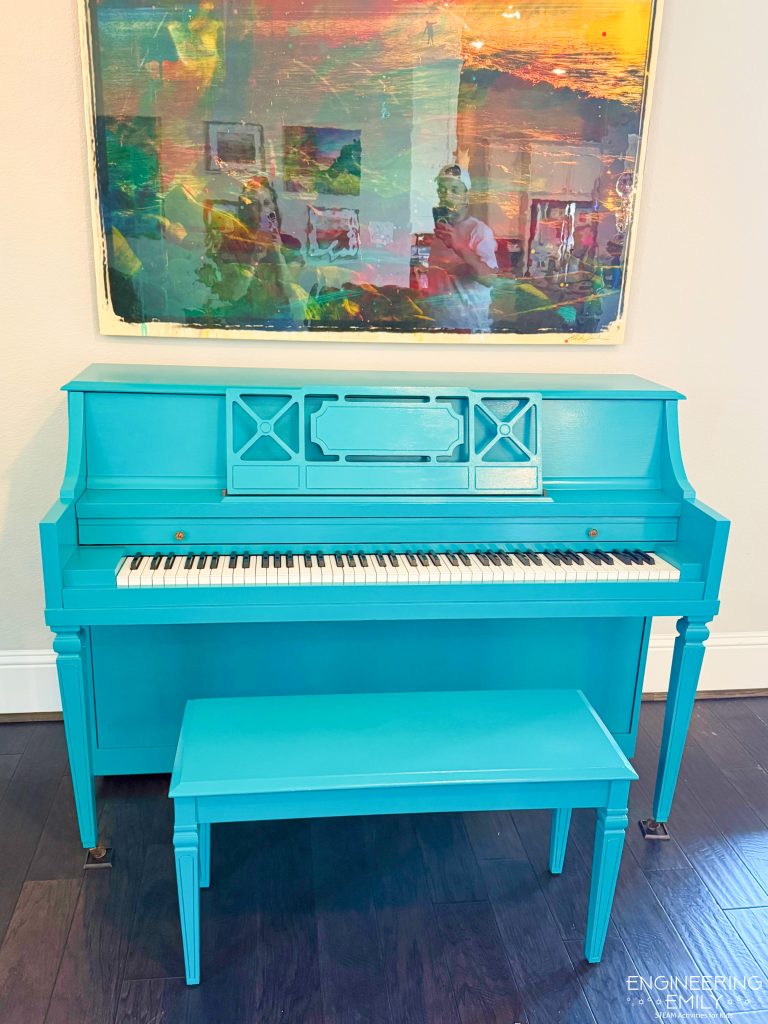
When we finished reassembling, I realized I forgot about the original knobs on the key cover – they were old and outdated. I ordered some new knobs that were more modern and matched the updated look of the piano. When they were installed the piano really shined as a statement piece in all its shiny turquoise glory!
Finished Piano
Our piano makeover was as difficult and as simple as I imagined. It took 4 years to convince my husband (and myself) to do it, but we finally did it! It was a long process, but we wanted to do our best so the piano would look amazing. I think all the hard work paid off with a professional looking finish that I hope lasts a long time.
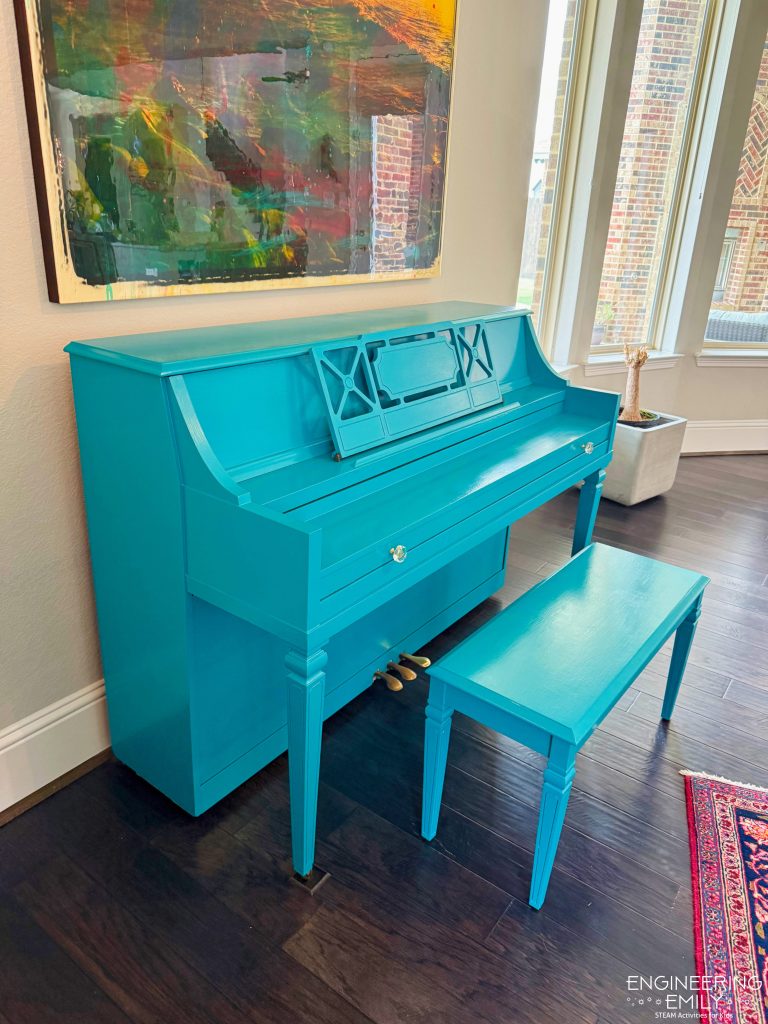
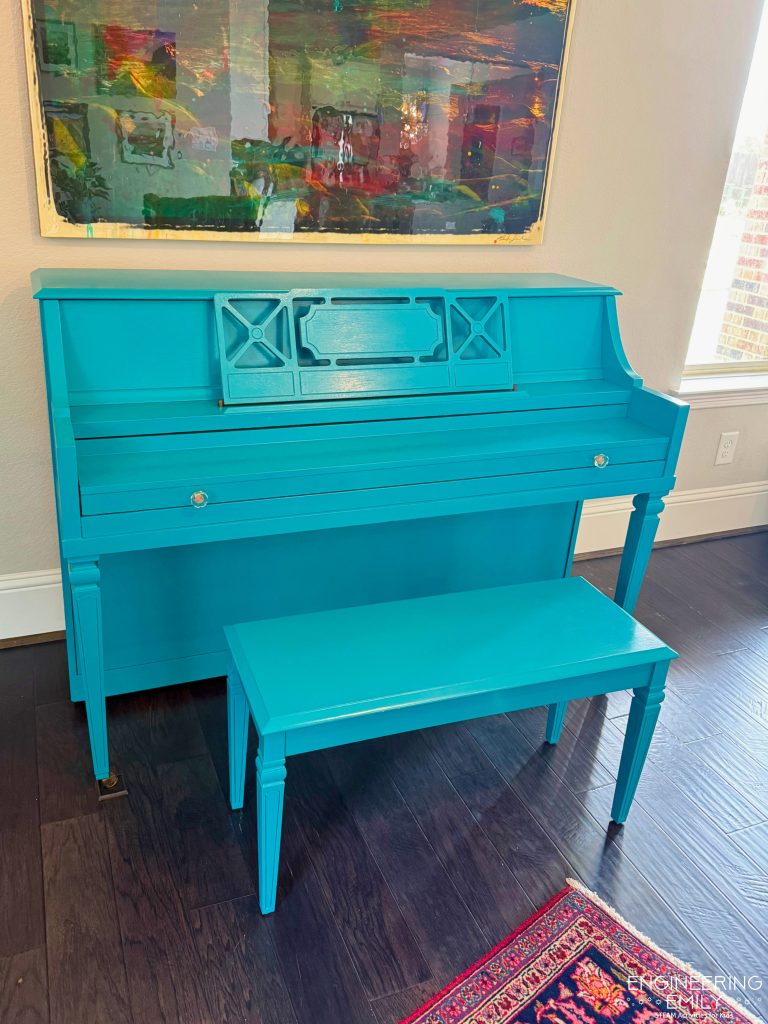
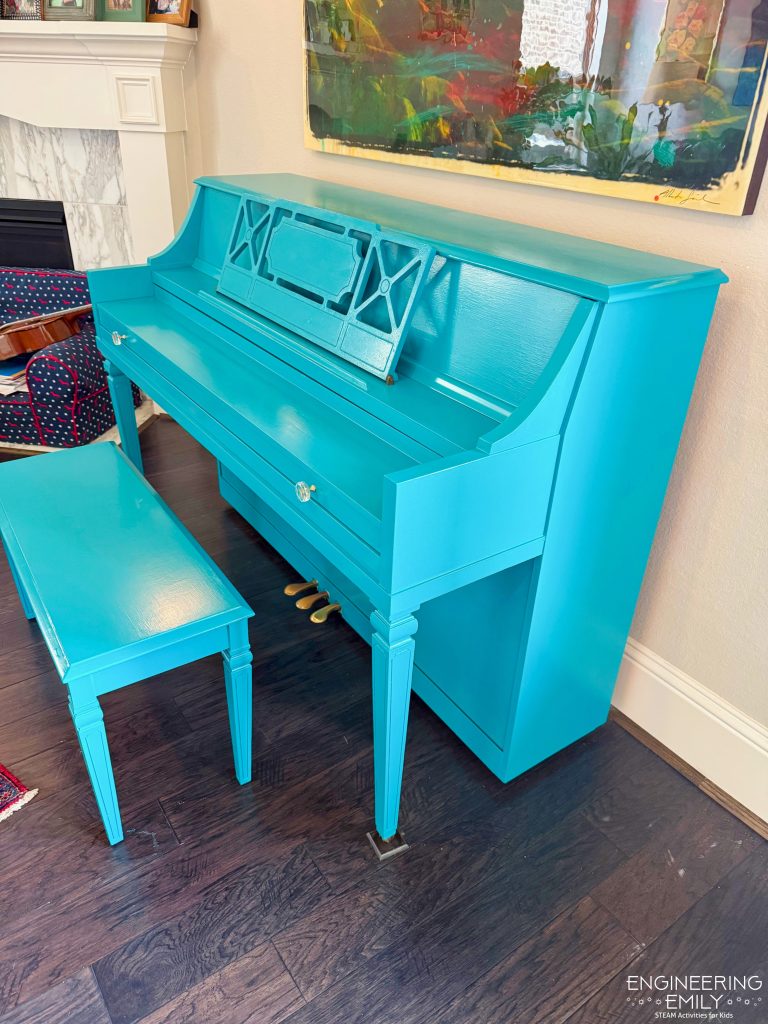
Now my kids and I are excited to practice and play on our beautiful turquoise piano. Even my piano teacher approved (she was skeptical when I first told her I wanted to do this years ago)!
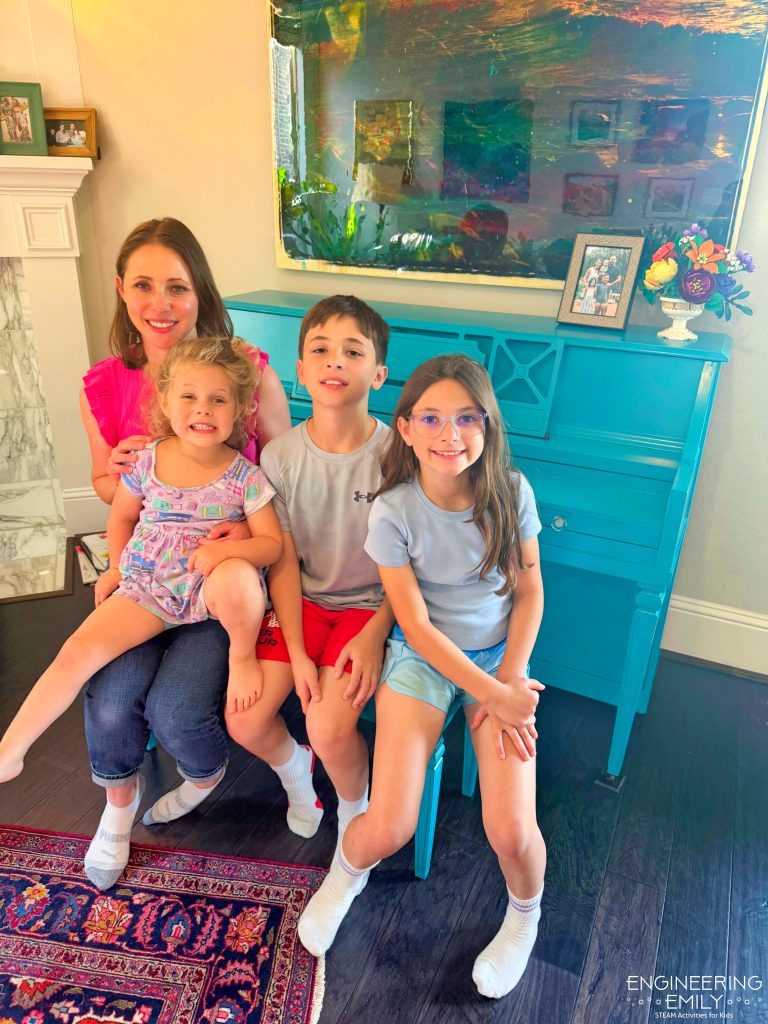
I am so obsessed and go look at it often – it’s everything I hoped for!
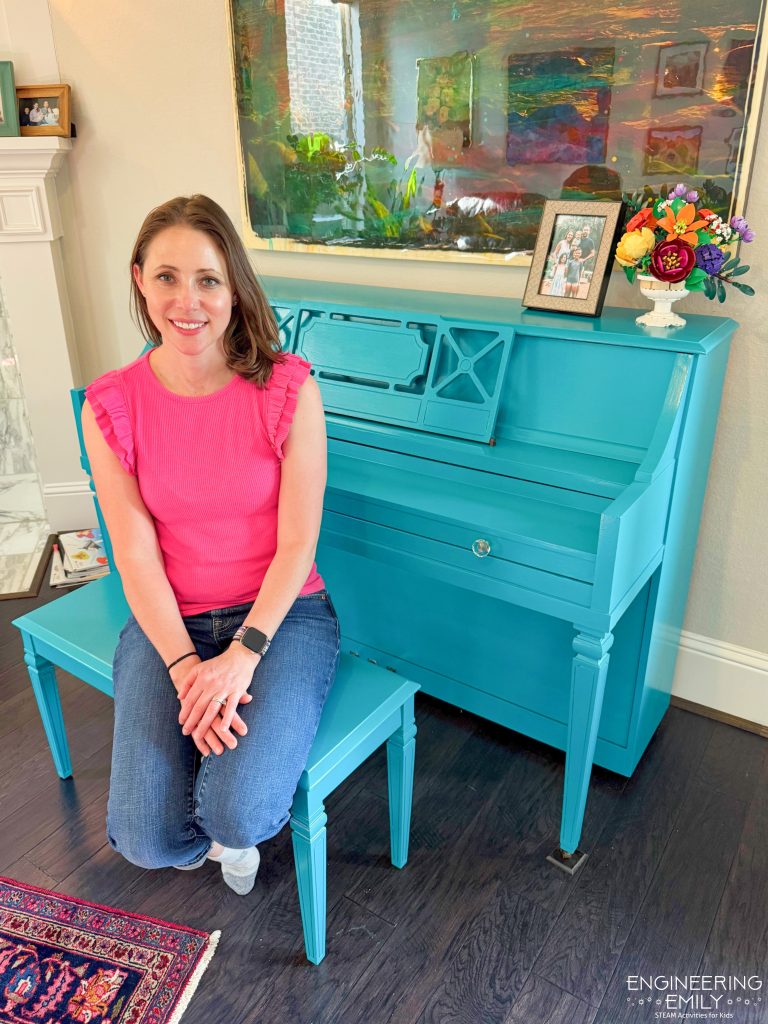
Would you ever try to paint your piano? If so, save this post for reference when you’re ready to follow or steps for a clean, shinny, beautiful, and colorful finish!